The kitchen is not a playground; it is a high-stakes laboratory where thermal stability meets long-term survival. When you crack the seal on a jar of Canned Beef Stew, you are engaging in a temporal handshake with your past self. The scent of rendered bovine lipids and piquant aromatics should hit you like a sensory freight train. We are looking for more than just a meal; we are looking for a structural masterpiece that defies the entropy of the pantry shelf. The goal is a viscous, umami-dense gravy that clings to perfectly cubed proteins without disintegrating into a monochromatic mush. Most home cooks fail because they lack the discipline to manage moisture content or the patience to achieve a proper Maillard reaction before the pressure cooker even enters the chat. We are here to audit your infrastructure, eliminate the variables of failure, and ensure that your preserved assets remain nutritionally viable and gastronomically superior. Let us strip away the amateur guesswork and build a legacy of shelf-stable excellence.
THE DATA MATRIX
| Metric | Specification |
|---|---|
| Prep Time | 60 Minutes |
| Execution Time | 90 Minutes (Processing) |
| Yield | 7 Quarts / 6.6 Liters |
| Complexity (1-10) | 7 |
| Estimated Cost per Serving | $2.15 USD |
THE GATHERS
Ingredient Protocol:
- 2.3 kg / 5 lbs Chuck Roast (Cubed into 1-inch pieces)
- 1.4 kg / 3 lbs Yukon Gold Potatoes (Peeled and cubed)
- 900g / 2 lbs Carrots (Sliced into thick rounds)
- 500g / 1.1 lbs Yellow Onions (Diced)
- 1.5 Liters / 6.3 Cups Beef Bone Broth (Unsalted)
- 60ml / 4 tbsp Worcestershire Sauce
- 30g / 2 tbsp Tomato Paste
- 15g / 1 tbsp Dried Thyme
- 10g / 2 tsp Black Peppercorns (Cracked)
- 45g / 3 tbsp Sea Salt
Section A: Ingredient Quality Audit:
The primary failure point in Canned Beef Stew is the selection of the wrong potato. Use Yukon Golds or red-skinned varieties; avoid Russets. Russets contain high starch levels that break down during the high-heat canning cycle, turning your stew into a grainy slurry. If your beef looks gray or lacks marbling, it will emerge from the jar dry and stringy. Technical Fix: Always sear your meat in small batches to maintain pan temperature. If the meat begins to boil in its own juices, you have overloaded the saucier. Remove the meat, drain the liquid, and restart the searing process to ensure you render the fat properly and develop a deep crust.
THE MASTERCLASS
1. The Maillard Initiation
Begin by patting the cubed beef dry with lint-free towels. Moisture is the enemy of the crust. Heat your heavy-bottomed saucier over high heat and add a high-smoke-point oil. Sear the beef in batches until a deep, mahogany crust forms. Use a bench scraper to keep the bottom of the pan clear of debris between batches.
Pro Tip: The Maillard reaction creates hundreds of different flavor compounds that cannot be replicated during the canning process. Using a digital scale to ensure even 1-inch cubes allows for uniform heat distribution and prevents over-processing of smaller fragments.
2. The Deglaze and Aromatic Infusion
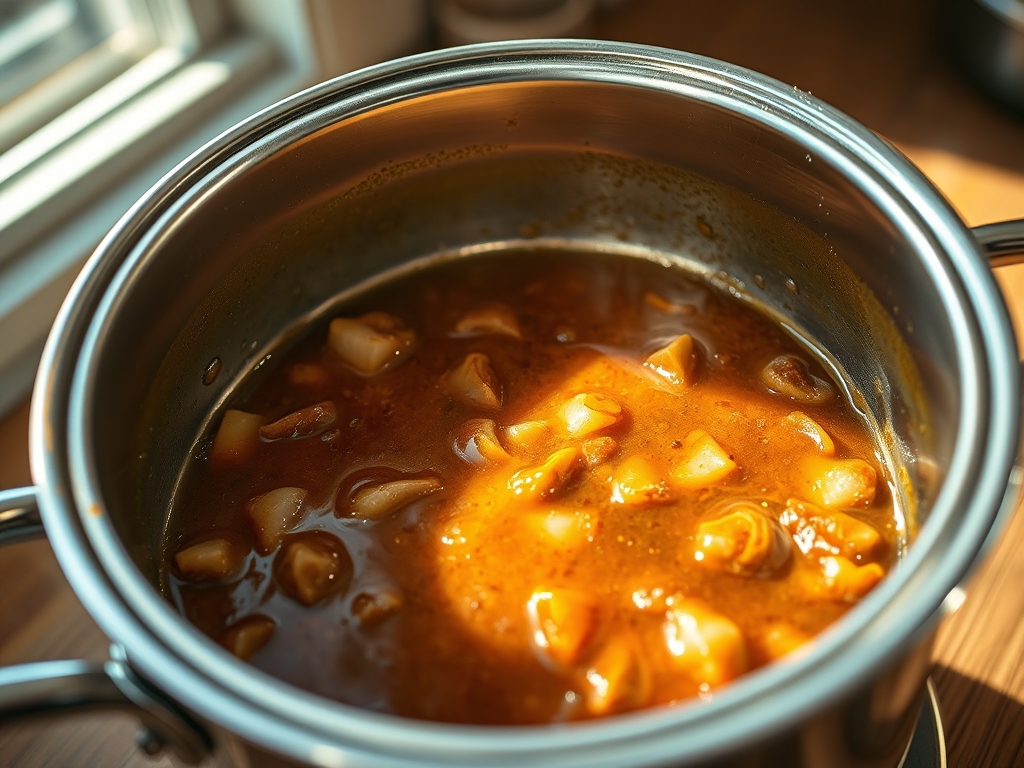
Remove the beef and add the onions and carrots to the pan. Use the moisture from the vegetables to deglaze the brown bits (fond) from the bottom of the pan. Stir in the tomato paste and cook until it turns a rusty brick color, signaling that the sugars have caramelized.
Pro Tip: Adding tomato paste at this stage creates a flavor bridge between the fats and the broth. Professional chefs use this to infuse the base liquid with a rich, foundational umami that survives the intense pressure of the canner.
3. Structural Assembly
Combine the seared beef, vegetables, and potatoes in a large mixing bowl. Toss with the salt, thyme, and cracked pepper. Pack the mixture into sterilized quart jars, leaving exactly one inch of headspace. Pour the beef broth over the solids, ensuring the liquid fills the gaps but maintains the headspace requirement.
Pro Tip: Use a non-metallic bubble remover tool to release trapped air pockets. Trapped air can lead to oxidation and discoloration of the top layer of meat, compromising the visual spectrum of your final product.
4. Thermal Processing
Wipe the rims with white vinegar to remove any residual lipids that might prevent a seal. Apply lids and bands to fingertip tightness. Process in a pressure canner at 10 pounds of pressure (adjust for altitude) for 90 minutes for quarts.
Pro Tip: Monitor your pressure gauge with hawk-like intensity. Fluctuations in pressure cause liquid siphoning, where the stew liquid is forced out of the jar, potentially causing a seal failure. A steady thermal environment ensures the molecular structure of the collagen remains intact.
Section B: Prep & Timing Fault-Lines:
The most common timing error occurs during the cooling phase. Never force-cool a pressure canner by running it under cold water or venting the weight early. This rapid pressure drop causes the liquid inside the jars to boil violently, leading to "boil-over" and seal contamination. Technical Fix: Allow the canner to depressurize naturally until the locking pin drops on its own. This 30-to-45-minute window is a critical part of the cooking and settling process.
THE VISUAL SPECTRUM
Section C: Thermal & Visual Troubleshooting:
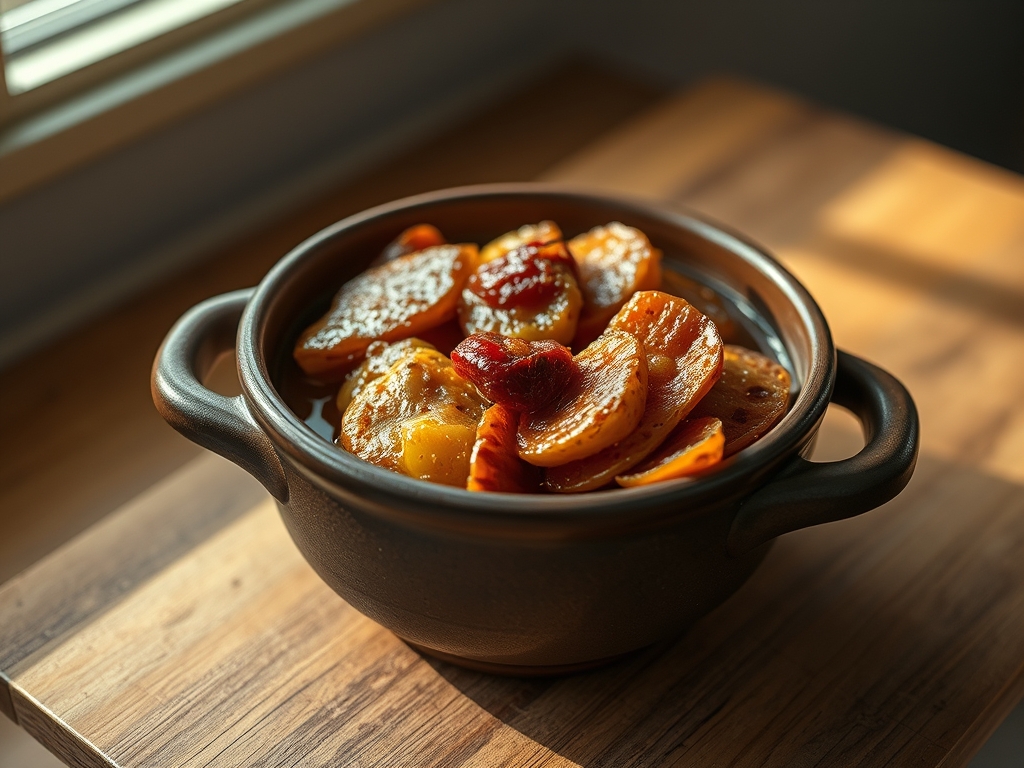
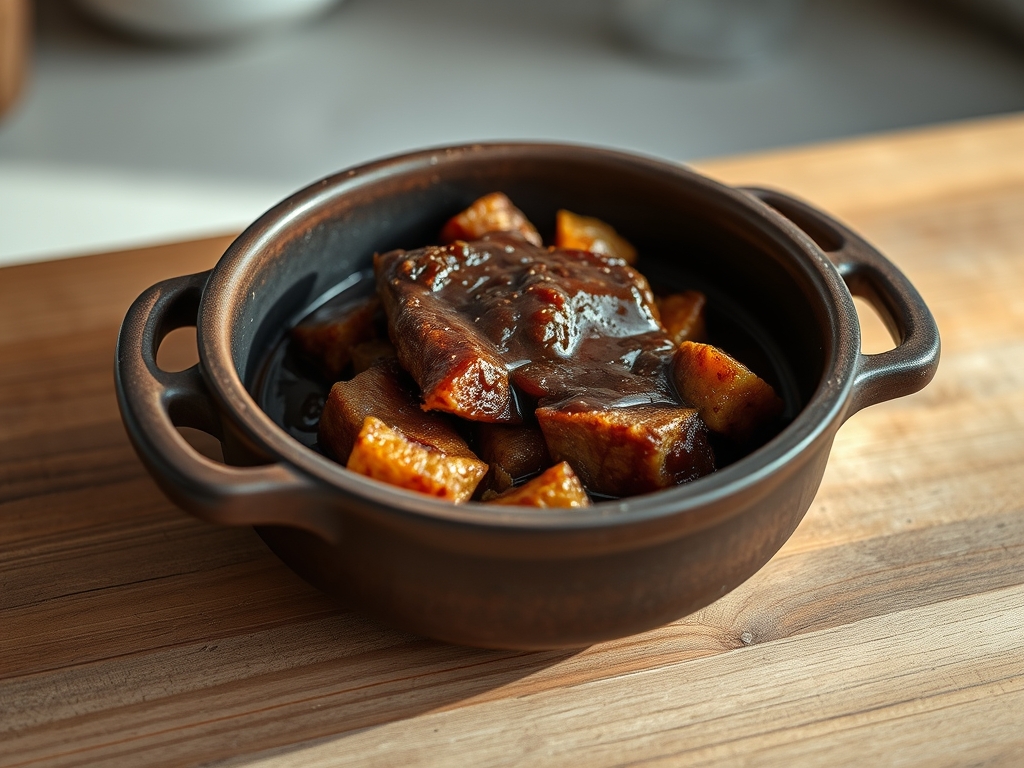
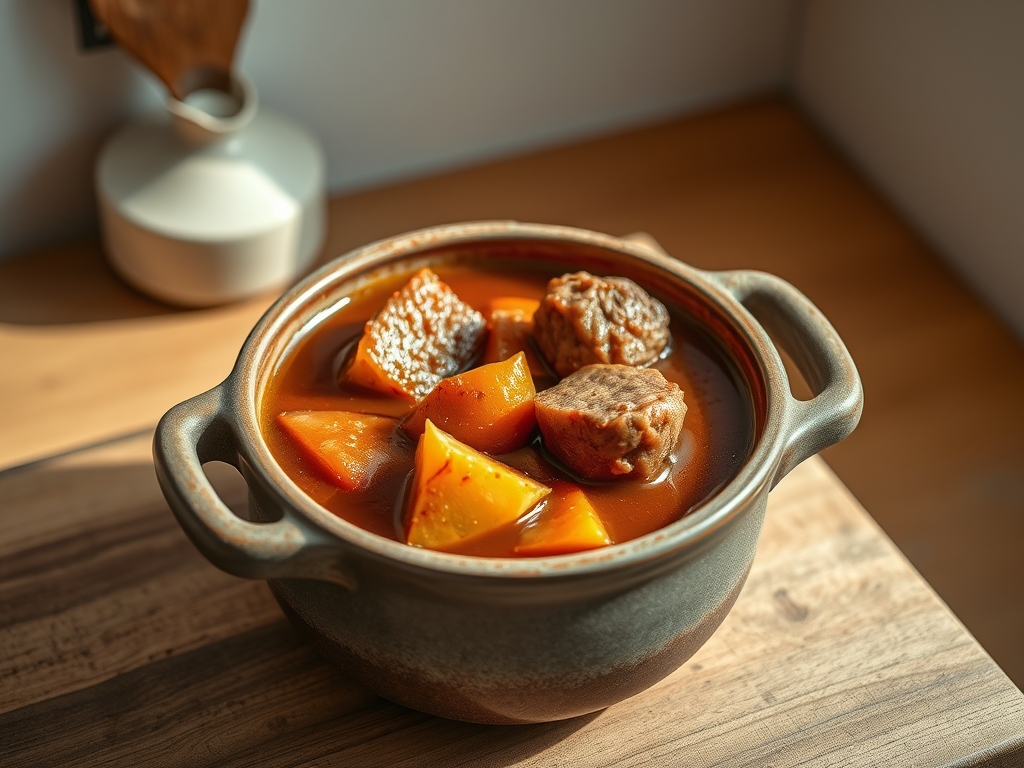
Referencing the Masterclass photo, your stew should exhibit distinct, sharp edges on the carrots and potatoes. If your vegetables look rounded or fuzzy, they were overcooked during the initial prep or the canning temperature spiked too high. If the liquid is cloudy, it indicates starch leakage from the potatoes. Technical Fix: Ensure you are using a digital scale to verify vegetable weight; too many potatoes will result in an overly thick, opaque gravy. If the beef looks pale, you skipped the searing step. Remember: No sear, no gear. The deep brown hue in the photo is the result of a successful deglaze and the proper ratio of tomato paste to broth.
THE DEEP DIVE
Macro Nutrition Profile:
A standard 1-cup serving of this infrastructure-grade stew provides approximately 280 calories, 22g of protein, 14g of carbohydrates, and 12g of fat. It is a balanced fuel source designed for high-stress recovery or long-term storage.
Dietary Swaps:
- Vegan: Replace beef with thick-cut portobello mushrooms and use a rich vegetable bouillon. Note that processing times remain the same for safety.
- Keto: Eliminate the potatoes and carrots; substitute with radishes and celery root to maintain texture without the glycemic load.
- GF: This recipe is naturally gluten-free as we avoid flour-based thickeners, relying instead on the natural reduction of broth and vegetable starches.
Meal Prep & Reheating Science:
When reheating, do so slowly over medium-low heat. Rapid boiling on the stove can shear the softened proteins. To aerate the flavors after long-term storage, add a splash of fresh lemon juice or red wine vinegar just before serving to brighten the heavy lipid profile.
THE KITCHEN TABLE
Why is my beef stew liquid so thin?
Home-canned stews do not use flour as a thickener because it interferes with heat penetration. The liquid will thicken slightly upon cooling. For a thicker result, stir in a cornstarch slurry after opening the jar and reheating.
Can I add peas or corn to the jars?
Yes, but add them last. Peas are delicate and may soften significantly during the 90-minute cycle. Ensure you maintain the one-inch headspace to account for the expansion of these smaller legumes during the thermal process.
Why did my jars lose liquid during canning?
This is called siphoning. It happens if the pressure fluctuates or if the jars were filled too high. Always maintain a steady heat source and strictly adhere to the one-inch headspace rule to protect your seal integrity.
Is it safe to eat if the fat has solidified at the top?
Absolutely. That is a natural render of the beef tallow. It acts as a secondary barrier against oxidation. Simply stir it back into the stew during the reheating process to restore the rich, viscous mouthfeel.