Listen up. If you think a bag of shriveled legumes is just a dusty relic of your pantry's bottom shelf, you are fundamentally miscalculating your culinary assets. We are not just making dinner; we are engaging in a high-stakes structural reclamation project. A dried bean is a dormant engine of protein, waiting for the precise application of thermal energy and hydration to unlock its potential. This is the Dried Bean Protocol. Forget the mushy, metallic sludge found in a tin. We are aiming for a texture that is velvety on the tongue yet resilient to the tooth. Imagine the scent of garlic and rosemary being forced into the very marrow of a chickpea. This is about the science of the soak and the architecture of the simmer. When you master this protocol, you aren't just a cook; you are a resource manager optimizing a biological system for maximum flavor density. We are going to render these stubborn pebbles into a viscous, luxurious masterpiece that defies their humble origins.
THE DATA MATRIX
| Metric | Specification |
|---|---|
| Prep Time | 12 Hours (Passive Soak) |
| Execution Time | 90 – 120 Minutes |
| Yield | 1.5 Liters / 6.3 Cups |
| Complexity (1-10) | 4 |
| Estimated Cost per Serving | $0.45 USD |
THE GATHERS
Ingredient Protocol:
- 500g / 1.1 lbs Dried Cannellini or Garbanzo Beans
- 2.5L / 10.5 cups Filtered Water (for soaking)
- 15g / 1 tbsp Diamond Crystal Kosher Salt
- 60ml / 4 tbsp Extra Virgin Olive Oil
- 4 Large Garlic Cloves (Smashed)
- 2 Sprigs Fresh Rosemary
- 1 Large Yellow Onion (Halved)
- 5g / 1 tsp Black Peppercorns (Whole)
- 1.5L / 6.3 cups Fresh Water (for cooking)
Section A: Ingredient Quality Audit:
If your beans have been sitting in the back of the cupboard since the last administration, they will likely suffer from Hard Seed Coat Syndrome. This is a physiological state where the cell walls have lignified to the point of near-impermeability. To fix this, increase your soaking salt concentration or add 2g of baking soda to the soaking water to help break down the hemicellulose. If your olive oil lacks that piquant, peppery finish, it is likely oxidized. Dispose of it. Only high-phenolic oils will properly infuse the cooking liquor with the necessary depth to balance the earthy legumes.
THE MASTERCLASS
1. The Hydration Phase
Place your sorted beans into a large bowl and cover with the 2.5L of filtered water and the salt. Allow them to hydrate for a minimum of 12 hours. This is not optional.
Pro Tip: Use a digital scale to ensure your salt-to-water ratio is exactly 0.6 percent. This concentration allows the sodium ions to displace magnesium and calcium in the bean skins, resulting in a significantly creamier interior.
2. The Aromatics Infusion
Drain the soaking water and rinse the beans. In a heavy-bottomed saucier or Dutch oven, heat the olive oil over medium heat. Add the garlic, onion, and rosemary. Sauté until the garlic begins to render its oils and the onion edges show the first signs of caramelization.
Pro Tip: Use a bench scraper to neatly transfer your aromatics into the pot. This prevents bruising the delicate cell structures of the onion before they hit the heat.
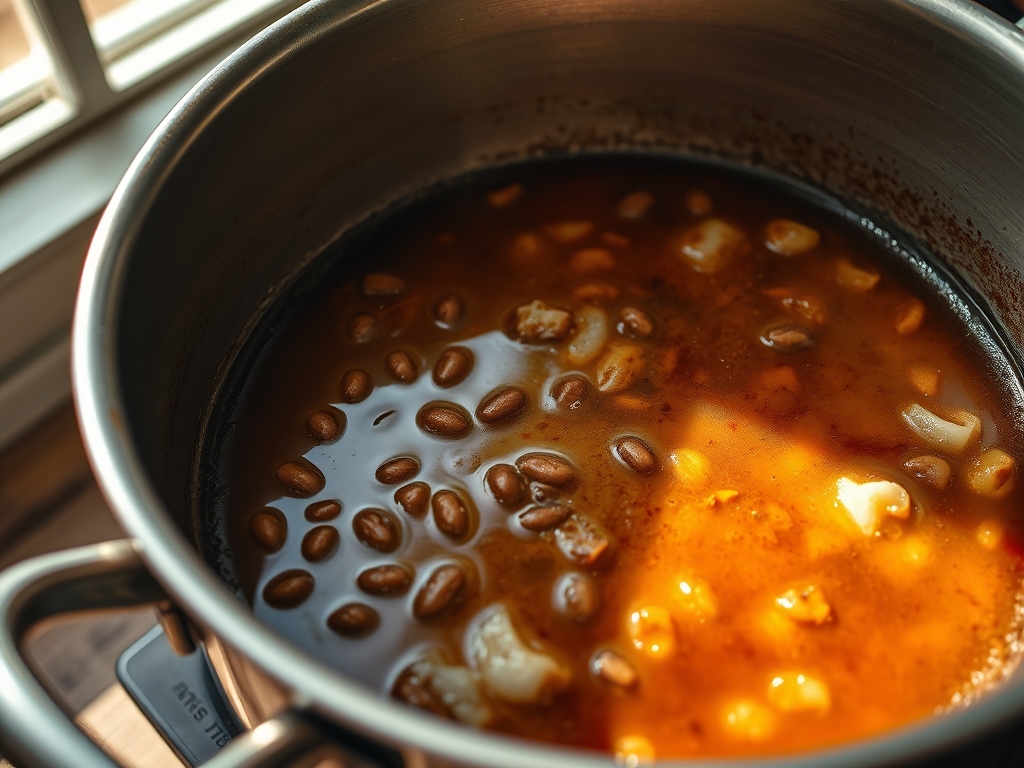
3. The Thermal Transfer
Add the hydrated beans to the pot along with the fresh water and peppercorns. Bring the liquid to a gentle simmer. Do not let it reach a rolling boil; excessive turbulence will rupture the skins and turn your pot into a starchy mess.
Pro Tip: A thermopen or infrared thermometer is useful here. You are looking for a consistent liquid temperature of 90C to 95C (195F to 203F). This is the "sweet spot" where starches gelatinize without the beans disintegrating.
4. The Emulsification Finish
Once the beans are tender, remove the onion halves and rosemary stems. Continue to simmer uncovered for the last 15 minutes. This allows the cooking liquor to reduce and the fats to emulsify with the released starches.
Pro Tip: Use a wooden spoon to vigorously stir the pot during the final five minutes. This mechanical action helps to aerate the liquid and encourages the starches to create a viscous, sauce-like consistency.
Section B: Prep & Timing Fault-Lines:
The most common failure in the Dried Bean Protocol is the "False Tender" state. This occurs when the exterior is soft but the interior remains chalky. This is a temperature control error. If your simmer is too low, the pectin won't break down; if it is too high, the outside overcooks before the heat can penetrate the core. Always test three beans from different areas of the pot before declaring the mission a success.
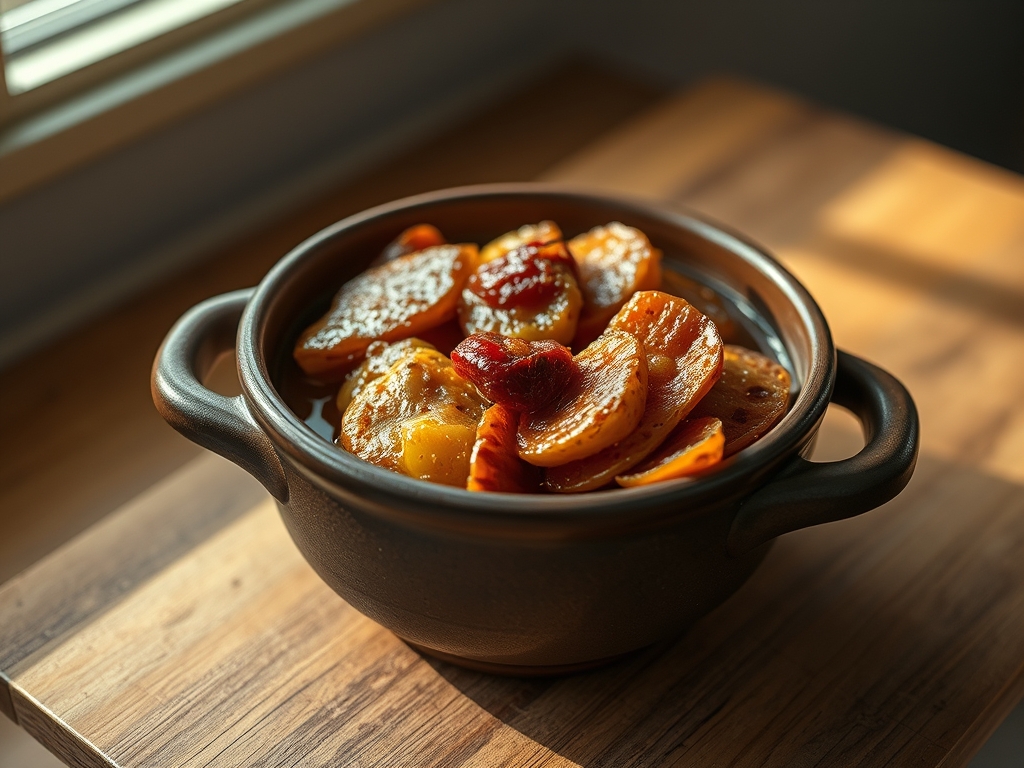
THE VISUAL SPECTRUM
Section C: Thermal & Visual Troubleshooting:
Referencing the Masterclass photo above, notice the glossy sheen on the surface of the beans. This indicates a successful starch-fat emulsion. If your beans look dull or matte, you haven't used enough fat or failed to reduce the liquid sufficiently. If the cooking liquor is clear like water, you missed the emulsification step. If the beans appear shattered or "exploded," your simmer was too aggressive. The ideal visual cue is a plump, intact bean surrounded by a liquid that looks like heavy cream infused with gold.
THE DEEP DIVE
Macro Nutrition Profile:
Per 250g serving, you are looking at approximately 350 calories, 18g of protein, 12g of fiber, and 9g of healthy fats. This is a high-efficiency fuel source with a low glycemic index, ensuring sustained energy release without the insulin spike associated with refined carbohydrates.
Dietary Swaps:
- Vegan: This protocol is inherently vegan. To add "meatiness," deglaze the pot with a splash of soy sauce before adding the water.
- Keto: Legumes are generally avoided on strict Keto; however, lupini beans can be substituted using the same protocol for a lower carb count.
- GF: Naturally gluten-free. Ensure your spices are certified to avoid cross-contamination.
Meal Prep & Reheating Science:
When cooling, the starches undergo retrogradation, which actually increases the resistant starch content. This makes day-old beans even healthier for your microbiome. To reheat, add a splash of water or stock and heat slowly. Do not microwave on high power; the rapid agitation will shatter the molecular bonds of the thickened sauce, causing it to "break" and become oily.
THE KITCHEN TABLE
Why are my beans still hard after hours of cooking?
You likely have "old" beans or hard water. Hard water contains calcium which reinforces bean cell walls. Use filtered water and add a pinch of baking soda to the soak to counteract this structural stubbornness.
Can I skip the soak if I use a pressure cooker?
You can, but you shouldn't. Soaking leaches out complex sugars that cause digestive distress. The Dried Bean Protocol prioritizes gastrointestinal comfort and flavor infusion over raw speed. Precision takes time.
What is the best way to store the leftovers?
Store them in their own cooking liquid in an airtight glass container. The liquid acts as a preservative and prevents the skins from drying out. They will stay optimal in the refrigerator for up to five days.
Can I freeze these for long-term storage?
Absolutely. Freeze them in their liquid with about an inch of headspace for expansion. The molecular structure holds up remarkably well to freezing, making this the ultimate emergency protein strategy for a busy professional.