The hum of the induction burner is the heartbeat of a high performance kitchen. You are not just cooking; you are engaging in a high stakes structural overhaul of a biological masterpiece. We are talking about the quintessential portable protein node. It is the tactical snack of the elite. It is Hard Boiled Energy. When you crack that shell, you expect a specific mechanical yield. You want a tender, translucent white and a yolk that mimics the texture of chilled butter. Anything less is a failure of culinary infrastructure. We have all seen the crimes committed against this humble orb. The rubbery, over-coagulated whites and the sulfurous, grey-green rings of shame around the yolk are signs of a system in collapse. This audit is designed to eliminate those variables. We are optimizing the albumin denaturation process to ensure that every gram of fuel you consume is a testament to precision engineering. Prepare your station. We are about to turn raw potential into kinetic Hard Boiled Energy through the rigorous application of thermal physics.
THE DATA MATRIX
| Metric | Specification |
|---|---|
| Prep Time | 2 Minutes |
| Execution Time | 12 Minutes |
| Yield | 6 Protein Nodes |
| Complexity (1-10) | 2 |
| Estimated Cost per Serving | $0.35 |
THE GATHERS
Ingredient Protocol:
- 6 Large Grade A Eggs (approx. 300g / 10.5 oz)
- 2 Liters / 8.5 cups Filtered Water
- 15ml / 1 tbsp Sodium Chloride (Kosher Salt)
- 10ml / 2 tsp White Vinegar (Optional for shell integrity)
- 1 kg / 2.2 lbs Ice Cubes (for the thermal shock bath)
Section A: Ingredient Quality Audit:
The primary failure point in this protocol is the age of the raw material. Fresh eggs possess a lower pH level, which causes the interior membrane to adhere aggressively to the shell. This results in "pitting" during the peeling phase; a catastrophic loss of structural integrity. To fix this, utilize eggs that are 7 to 10 days old. If you are forced to use farm-fresh nodes, increase the alkalinity of the water by adding 2.5g of baking soda. This shifts the pH and encourages the membrane to release. Another common issue is "yolk-drift." If the yolk is not centered, it indicates the egg was stored on its side for too long. Store your nodes vertically in the carton to ensure a centralized, aesthetically pleasing protein core.
THE MASTERCLASS
1. The Hydration Phase
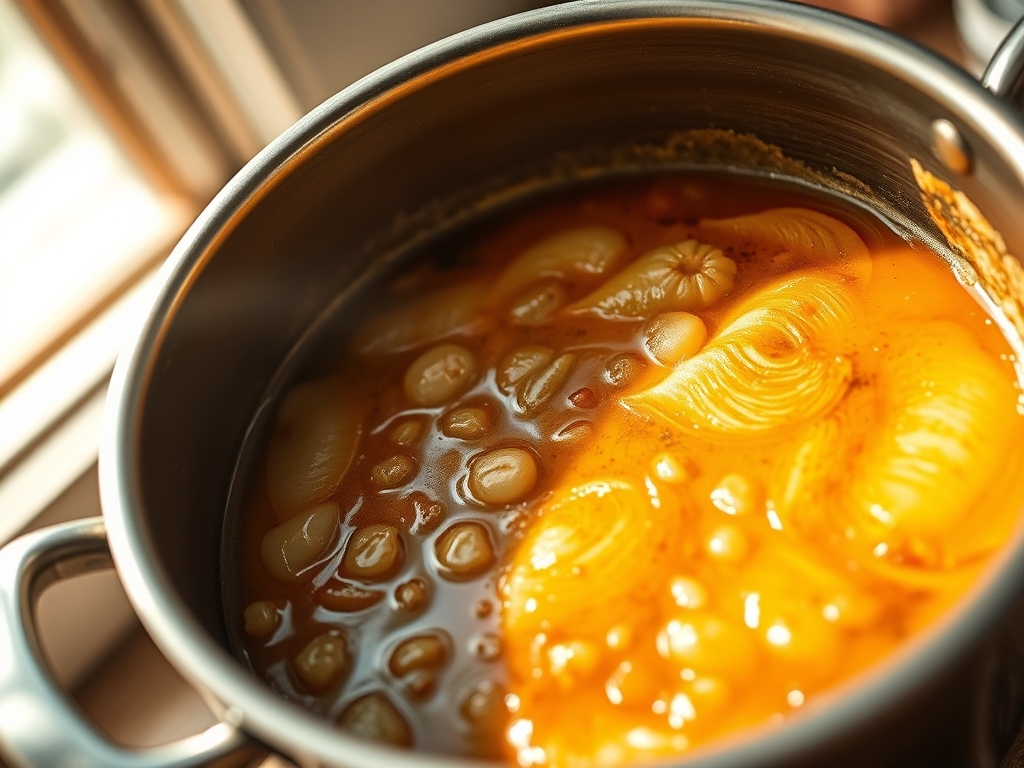
Fill a heavy-bottomed saucier with 2 liters of water. Add your salt and vinegar. Bring the liquid to a rolling boil. The salt increases the density of the water while the vinegar acts as a chemical sealant. If a shell fractures, the acid causes the escaping whites to coagulate instantly, plugging the leak.
Pro Tip: Use a digital scale to measure your salt precisely. Consistent salinity ensures that the osmotic pressure remains stable, preventing the eggs from absorbing excess water which can lead to a viscous, watery yolk.
2. The Precision Deployment
Lower the heat to a simmer to prevent the eggs from bouncing and cracking against the base of the pan. Use a slotted spoon or a bench scraper to gently lower each node into the water. Once all units are deployed, return the heat to a medium-high setting to maintain a steady 100 degrees Celsius.
Pro Tip: The saucier is superior to a standard pot because its sloped sides promote better convection currents. This ensures that the thermal energy is distributed evenly around the entire surface of the egg, preventing "hot spots" that cause uneven denaturation.
3. The Temporal Countdown
Set your timer for exactly 9 minutes and 30 seconds for a "creamy-hard" finish, or 11 minutes for a fully set, structural yolk. This is the "Hard Boiled Energy" sweet spot. During this time, the proteins in the albumin begin to uncoil and cross-link, creating a solid matrix.
Pro Tip: Use a professional-grade digital timer. Mechanical timers are prone to a 10 to 15 percent margin of error, which is the difference between a piquant, jammy center and a dry, chalky disaster.
4. The Cryogenic Shock
While the timer runs, prepare an ice bath in a large stainless steel bowl. When the time expires, immediately transfer the eggs from the boiling water to the ice. This is the "Cold Shock" phase. It halts the kinetic energy of the molecules instantly, preventing the residual heat from overcooking the yolk.
Pro Tip: Rapid cooling prevents the iron in the yolk from reacting with the sulfur in the white. This reaction is what creates that foul-smelling green ring. By using a high volume of ice, you ensure the thermal transfer is instantaneous.
5. The Structural Extraction
Let the nodes rest in the ice bath for at least 10 minutes. This allows the internal pressure to stabilize. Gently tap the shell on a flat surface and peel under a thin stream of cool water. The water acts as a lubricant, allowing the shell to slide off in large, satisfying sections.
Pro Tip: A bench scraper can be used here to gently roll the egg on the counter, creating a fine web of cracks that makes peeling effortless. This preserves the smooth, aerodynamic surface of the protein node.
Section B: Prep & Timing Fault-Lines:
The most frequent human error is "The Crowded Pan." If you attempt to process 12 eggs in a small vessel, the water temperature drops too significantly upon deployment. This results in an inconsistent cook time. Always ensure your nodes have at least 2cm of clearance between them. Another fault-line is the "Delayed Shock." If you wait even 60 seconds to move the eggs to the ice, the carryover heat will push the yolk into the "sulfur zone." Speed is your ally in maintaining molecular precision.
THE VISUAL SPECTRUM
Section C: Thermal & Visual Troubleshooting:
Referencing the Masterclass photo, your goal is a surface that is matte white and free of indentations. If your eggs look like golf balls with dimples, you didn't shock them fast enough, or they were too fresh. If you see a "flat spot" on one side, you didn't have enough water in the saucier; the egg rested against the hot metal instead of being suspended in the liquid. If the yolk is off-center, your storage orientation was incorrect. A perfect Hard Boiled Energy node should reveal a vibrant, sun-yellow center when sliced with a sharp, wet blade. A dry blade will tear the delicate protein lattice, so always wipe your knife with a damp cloth between cuts to ensure a clean, professional finish.
THE DEEP DIVE
Macro Nutrition Profile:
Each node provides approximately 70 calories, 6g of high-biological-value protein, and 5g of healthy fats. It is a complete amino acid profile, making it the gold standard for metabolic repair.
Dietary Swaps:
While the egg is the ultimate node, those on a plant-based protocol can mimic the "Hard Boiled Energy" experience using extra-firm silken tofu pressed into molds and seasoned with kala namak (black salt) to infuse that essential sulfurous aroma. For Keto enthusiasts, this is a baseline staple.
Meal Prep & Reheating Science:
To maintain the molecular structure, store eggs in their shells in a sealed container for up to 7 days. Never microwave a hard-boiled egg; the internal moisture will aerate and expand, causing a high-pressure explosion. To reheat, submerge the shelled egg in hot (not boiling) water for 3 minutes to gently render the fats without toughening the whites.
THE KITCHEN TABLE
Why is the yolk grey?
This is a result of overcooking. The iron in the yolk reacts with hydrogen sulfide in the white. It is harmless but indicates a failure in your timing protocol. Stick to the 10-minute limit and shock immediately.
How do I make them easier to peel?
Use older eggs and start them in boiling water rather than cold water. The "hot start" method shocks the membrane, causing it to pull away from the shell instantly, ensuring a clean break every time.
Can I cook these in an air fryer?
You can, but it is sub-optimal. Air is a poor conductor of heat compared to water. This leads to rubbery whites and uneven yolks. For Hard Boiled Energy, the hydraulic method remains the superior infrastructure.
What is the best way to slice them?
Use a thin wire slicer or a very sharp, thin-tined knife. Wetting the blade prevents the yolk from sticking, allowing you to create clean, architectural slices for plating or high-density snacking.