The kitchen is a battlefield where the line between culinary transcendence and biological disaster is drawn in shimmering, golden fat. You are likely chasing that elusive, viscous liquid gold found in high end bistros; a pungent, aromatic Olive Oil Infusion that clings to crusty sourdough and elevates a simple pasta to a religious experience. But listen closely because the stakes are higher than a burnt roux. When you submerge raw garlic in oil, you are creating the perfect anaerobic environment for Clostridium botulinum to thrive. This is not just cooking; it is an exercise in microbial risk management. We are looking for that piquant bite of fresh herbs and the mellow, roasted depth of garlic without the side effect of neurotoxins. To achieve this, we must master the thermal kill step and acidity control. We are going to render every drop of moisture out of those aromatics, ensuring the final product is shelf stable, vibrant, and packed with enough flavor to make a Michelin inspector weep with joy.
THE DATA MATRIX
| Metric | Specification |
|---|---|
| Prep Time | 15 Minutes |
| Execution Time | 45 Minutes |
| Yield | 500ml / 2 Cups |
| Complexity (1-10) | 4 |
| Estimated Cost per Serving | $0.85 |
THE GATHERS
Ingredient Protocol:
- 500ml / 2 cups Extra Virgin Olive Oil (High polyphenol count preferred)
- 120g / 1 cup Fresh Garlic Cloves (Peeled and thinly sliced)
- 15g / 0.5 oz Fresh Rosemary Sprigs (Washed and bone dry)
- 10g / 0.35 oz Red Chili Flakes (Adjust for desired heat)
- 5g / 1 tsp Citric Acid or Lemon Zest (For pH stabilization)
- 5g / 1 tsp Flaky Sea Salt
Section A: Ingredient Quality Audit:
The primary failure point in an Olive Oil Infusion is the water content of the raw materials. If your garlic is sprouting green "hearts," discard them immediately; those sprouts contain bitter compounds that will ruin the oil's profile. If your herbs are limp, they lack the essential oils needed for a potent infusion. To fix sub par garlic, soak the peeled cloves in a 3 percent salt brine for ten minutes to firm up the cell walls before slicing. If your olive oil lacks that peppery "back of the throat" kick, it is likely oxidized. Always source oil in dark glass or tin to prevent light induced rancidity.
THE MASTERCLASS
Step-by-Step Execution:
1. Precision Slicing and Preparation
Utilize a sharp mandoline or a heavy chef knife to slice the garlic into uniform 1mm discs. Uniformity is not about aesthetics; it is about ensuring every piece reaches the thermal death point of pathogens at the same time. Place the sliced garlic on a paper towel to wick away surface moisture.
Pro Tip: Use a digital scale to measure your ingredients by weight rather than volume. This ensures the ratio of garlic to oil remains within the safety margin for acidulation and prevents the oil from becoming overly saturated with water.
2. The Cold Start Infusion
Place your garlic and oil into a heavy bottomed saucier. Starting with cold oil allows the garlic to heat up gradually, which helps to render out moisture without scorching the exterior. Turn the heat to medium low.
Pro Tip: A saucier with rounded bottom edges is superior to a standard saucepan because it prevents garlic slices from getting trapped in the corners where they might burn and create a bitter, acrid flavor profile.
3. Monitoring the Thermal Kill Step
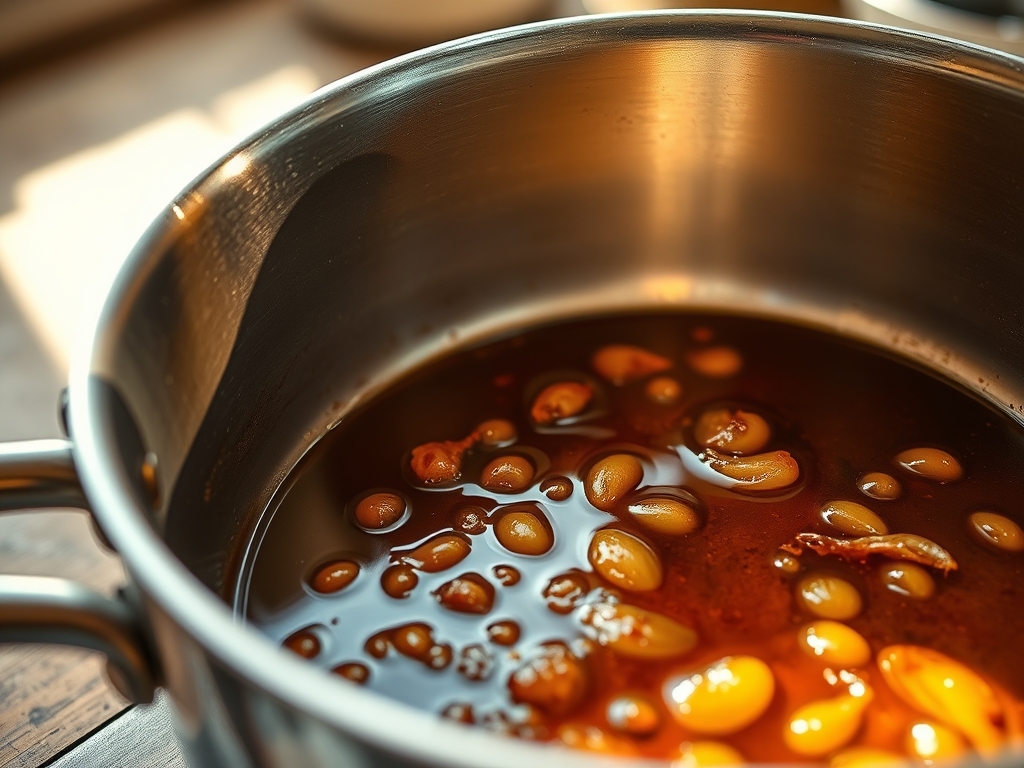
As the oil reaches 121 degrees Celsius (250 degrees Fahrenheit), the garlic will begin to bubble. This is water escaping. Maintain this temperature for at least 10 minutes. This is your critical control point for botulism mitigation.
Pro Tip: Use an infrared thermometer or a high quality probe to monitor the oil. If the temperature exceeds 140 degrees Celsius, the olive oil will begin to break down molecularly, losing its healthy antioxidants and developing "off" flavors.
4. Aromatics and Acidification
Once the garlic is a pale golden straw color, add the rosemary and chili flakes. The rosemary will sizzle as the oil begins to infuse with the herb's volatile oils. Stir gently with a silicone spatula to ensure even heat distribution.
Pro Tip: Adding a pinch of citric acid at this stage lowers the pH of any remaining moisture droplets. This creates a secondary barrier against microbial growth, ensuring your infusion is as safe as it is delicious.
5. Rapid Cooling and Filtration
Once the infusion is complete, remove from heat. Use a fine mesh chinois to strain the oil into a sterilized glass jar. If you prefer the garlic in the oil, ensure it is completely submerged.
Pro Tip: Place the receiving jar in an ice bath. Rapidly cooling the oil preserves the bright, herbaceous notes of the rosemary and prevents the residual heat from overcooking the garlic into a dark, bitter state.
Section B: Prep & Timing Fault-Lines:
The most common human error is impatience. Increasing the heat to "speed up" the process will cause the garlic to undergo the Maillard reaction too quickly, resulting in a burnt exterior and a raw, water heavy interior. This raw center is where bacteria hide. Another fault line is failing to dry your herbs after washing. Even a single droplet of water can cause the oil to splatter and introduce moisture that encourages mold. If you see "cloudiness" in your oil after it cools, it means you failed to cook out the moisture. Fix this by reheating the oil to 110 degrees Celsius until the cloudiness evaporates.
THE VISUAL SPECTRUM
Section C: Thermal & Visual Troubleshooting:
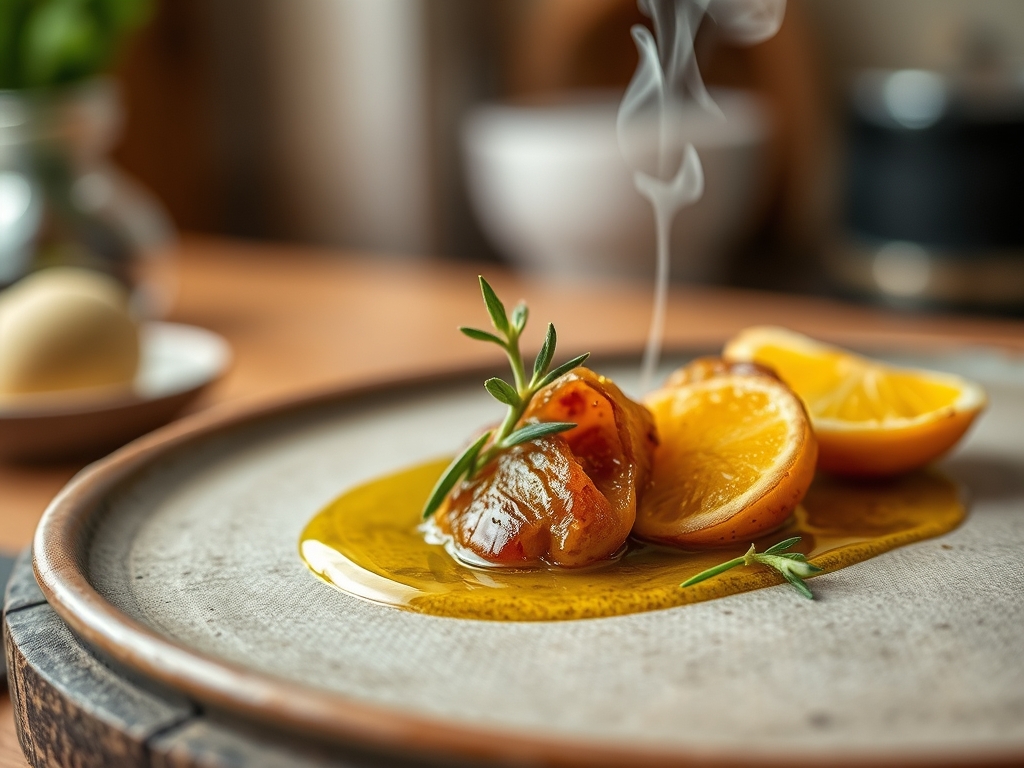
Referencing the Masterclass photo, your oil should be a clear, vibrant amber with a slight green tint from the chlorophyll in the herbs. If your oil looks muddy or brown, you have overheated the lipids. If the garlic appears shriveled and dark, it was sliced too thin or cooked too long; it should look like crisp, golden parchment. Dull colors often indicate old spices or oxidized oil. If the herbs look "fried" and brown rather than dark green, they were added too early in the process. The goal is a viscous, translucent liquid that flows like warm honey.
THE DEEP DIVE
Macro Nutrition Profile:
Per 15ml (1 tablespoon) serving: 120 Calories, 14g Total Fat (2g Saturated), 0g Carbs, 0g Protein. This is a pure lipid delivery system, rich in monounsaturated fats and heart healthy oleic acid.
Dietary Swaps:
- Vegan/Keto/GF: This recipe is naturally compliant with all three. For a deeper "umami" hit for vegans, add a small piece of dried kombu during the infusion.
- AIP Friendly: Omit the red chili flakes and replace them with dried lemon peel.
Meal Prep & Reheating Science:
Store this oil in the refrigerator. Note that high quality extra virgin olive oil will solidify in the cold; this is a sign of purity. To use, simply scoop out a portion and let it come to room temperature. Do not microwave the entire jar, as repeated thermal cycling will degrade the molecular structure of the oil and lead to rapid oxidation.
THE KITCHEN TABLE
How long does this oil last in the fridge?
When properly acidified and stored in a sterilized, airtight container, this oil remains peak for 2 to 3 weeks. Always use a clean spoon to prevent cross contamination.
Can I leave this on the counter?
Negative. Even with the thermal kill step, room temperature storage significantly increases the risk of spoilage. Safety first; keep it chilled to inhibit any potential bacterial spores.
Why did my garlic turn blue or green?
Do not panic. This is a natural reaction between the sulfur in garlic and trace minerals in the oil or salt. It is safe to eat, though it indicates your garlic was likely older.
Can I use dried herbs instead of fresh?
Yes, and it actually reduces the botulism risk because dried herbs have zero water activity. However, you will lose that bright, floral "top note" that only fresh rosemary provides.