The scent of a failing pantry is the smell of lost potential. When you open a jar of store bought oregano and find nothing but gray dust; you are witnessing a catastrophic breach in Dried Herb Security. In the world of high end culinary infrastructure; the preservation of volatile oils is the only metric that matters. These oils are the aromatic blueprints of the plant; containing the piquant terpenes and phenols that define a dish. To ignore the degradation of these compounds is to accept mediocrity. We are not just drying leaves; we are architecting a shelf stable flavor bomb that maintains its molecular integrity for months. This audit demands precision. We are looking for vibrant chlorophyll retention and a scent profile so aggressive it demands your attention the moment the seal is broken. If your herbs do not smell like a concentrated version of their fresh ancestors; your security has been compromised. It is time to rebuild your spice rack from the cellular level up.
THE DATA MATRIX
| Metric | Specification |
|---|---|
| Prep Time | 20 Minutes |
| Execution Time | 4 to 6 Hours |
| Yield | 50g Concentrated Botanicals |
| Complexity (1-10) | 4 |
| Estimated Cost per Serving | $0.15 |
THE GATHERS
Ingredient Protocol:
- 500g / 4 cups Fresh Organic Herbs (Basil, Thyme, or Rosemary)
- 10ml / 2 tsp Citric Acid Solution (Optional for color retention)
- 1000ml / 4 cups Ice Cold Distilled Water
- 5g / 1 tsp Fine Sea Salt
Section A: Ingredient Quality Audit:
The primary failure point in Dried Herb Security is the use of senescent biomass. If your starting material is yellowing or wilted; the volatile oils have already begun to dissipate. Technical fix: Perform a turgidity restoration by submerging herbs in an ice bath for 15 minutes. This rehydrates the cellular walls. If the stems are woody; strip the leaves immediately. Woody stems contain bitter tannins that will migrate into the leaf tissue during the dehydration process; ruining the piquant profile you are trying to capture.
THE MASTERCLASS
1. The Sanitization and Prep Phase
Begin by washing your herbs in distilled water. Tap water contains chlorine and minerals that can catalyze the oxidation of delicate oils. Use a digital scale to ensure you are working with a consistent mass of material. Spin the herbs in a salad spinner until they are bone dry to the touch.
Pro Tip: Surface moisture is the enemy of the dehydration curve. If you put wet herbs into a dehydrator; you create a high humidity environment that steams the leaves; causing them to turn brown and lose their viscous essential oils.
2. The Thermal Calibration
Arrange the herbs in a single layer on your dehydrator trays. Ensure there is at least two centimeters of space between each sprig to allow for maximum airflow. Set your equipment to 35 degrees Celsius (95 degrees Fahrenheit). This low temperature is non negotiable for maintaining Dried Herb Security.
Pro Tip: High heat causes the evaporative loss of lighter aromatic molecules like linalool. By using a low and slow approach; you lock the flavor into the leaf structure rather than venting it into your kitchen.
3. The Desiccation Audit
Check the herbs every hour. You are looking for a brittle texture where the leaf shatters rather than bends. Use a bench scraper to gently move the herbs around the trays halfway through the process to prevent any "cold spots" in the airflow of your machine.
Pro Tip: The hygroscopic nature of dried plants means they will pull moisture from the air the moment they cool. Always test for doneness while the herb is still slightly warm to ensure a true reading of its structural integrity.
4. The Milling and Sealing
Once fully desiccated; pulse the herbs in a clean spice grinder or crush them by hand. Do not over process; you want to maintain some surface area to protect the internal oils until the moment of use. Transfer immediately to an airtight glass jar.
Pro Tip: Use a saucier or a funnel to transfer the herbs without spilling. Oxygen is the primary agent of decay; so minimize the "headspace" in your jar to reduce the volume of air in contact with the herbs.
Section B: Prep & Timing Fault-Lines:
Timing is the most common human error in this protocol. If you leave herbs in the dehydrator for ten hours when they only needed six; you are essentially "cooking" the flavor out. Conversely; under drying leads to mold. Technical fix: Use a hygrometer inside your storage jars. If the humidity rises above 10 percent after sealing; the batch must be returned to the dehydrator immediately. Temperature control is equally vital; fluctuating temperatures cause the oils to render and seep out of the leaf; leaving you with a greasy; dull product.
THE VISUAL SPECTRUM
Section C: Thermal & Visual Troubleshooting:
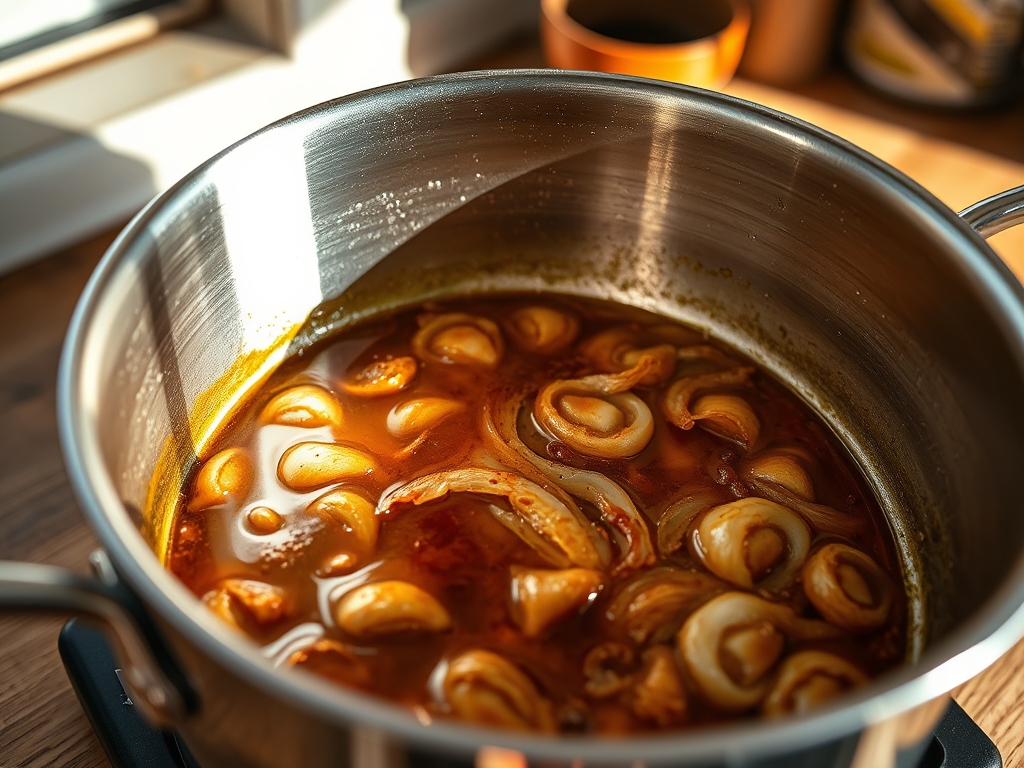
Referencing the Masterclass photo; notice the deep; saturated green of the leaves. If your herbs appear "straw like" or tan; you have experienced chlorophyll degradation due to light exposure or excessive heat. If the leaves look "dusty;" you likely have a high concentration of mineral deposits from hard water. To fix uneven browning; ensure your trays are rotated frequently. If the texture is "leathery" rather than "crisp;" your airflow is restricted. Ensure the intake vents of your dehydrator are not blocked by other kitchen appliances. The goal is a matte finish that looks like a preserved version of the fresh plant.
THE DEEP DIVE
Macro Nutrition Profile
Dried herbs are micronutrient powerhouses. While the caloric impact is negligible; the concentration of polyphenols increases by a factor of five compared to fresh weight. You are looking at high levels of Vitamin K and Manganese in a highly bioavailable form.
Dietary Swaps (Vegan/Keto/GF)
This process is naturally compliant with all major dietary frameworks. For a "Keto" flavor boost; infuse your dried herbs into a viscous carrier oil like avocado oil. For a "Vegan" umami bomb; mix your dried herbs with nutritional yeast and sea salt.
Meal Prep & Reheating Science
To maintain molecular structure when cooking; never add your "Secured" dried herbs at the beginning of a long simmer. The high heat of a boiling liquid will infuse the flavor too quickly and then destroy it. Instead; add them in the final five minutes of cooking or use them to deglaze a pan after searing proteins. This ensures the piquant top notes remain intact when the dish hits the table.
THE KITCHEN TABLE
How do I know if my Dried Herb Security is compromised?
Perform a "Crush Test." Rub a small amount of the herb between your palms. If the aroma is not immediate and aggressive; the volatile oils have evaporated. If it smells like hay; discard the batch and recalibrate your storage.
Can I dry herbs in a standard oven?
Most ovens do not go low enough in temperature. Even the "warm" setting is often too hot; causing the oils to aerate and vanish. If you must use an oven; keep the door propped open and use a fan.
Why did my basil turn black during drying?
Basil is highly susceptible to enzymatic browning. This happens when the leaves are bruised during the prep phase. Handle the leaves with extreme care; using sharp shears rather than tearing them; to maintain the cellular integrity and color.
What is the best container for long term security?
Amber glass jars with induction seals are the gold standard. Light is a catalyst for chemical breakdown. By blocking UV rays and eliminating oxygen; you can maintain peak flavor for up to twelve months without significant degradation.
Should I wash herbs before drying?
Yes; but they must be perfectly dry before entering the dehydrator. Residual surface water creates a "steaming" effect that ruins the texture. Use a high speed salad spinner and then air dry on a rack for thirty minutes first.