Imagine a morning where the kitchen does not feel like a frantic logistics hub but rather a high efficiency refueling station. We are moving beyond the instant packet sludge that defines the modern breakfast tragedy. We are talking about structural integrity. We are talking about the sheer mechanical satisfaction of a perfectly hydrated grain. When you engage in Bulk Oatmeal Planning, you are not just making breakfast; you are engineering a sustained glucose release system that defies the mid morning crash. The air should smell of toasted nuttiness and deep caramelization, not the dusty cardboard of industrial shortcuts. We want a bowl that possesses a viscous, luxurious mouthfeel while maintaining the distinct architectural snap of the oat groat. This is culinary infrastructure at its finest. It requires a commitment to the physics of starch gelatinization and the chemistry of the Maillard reaction. If you want to dominate your day, you must first dominate your pantry. Strap in, because we are about to optimize your morning caloric intake with the precision of a Swiss watchmaker.
THE DATA MATRIX
| Metric | Specification |
|---|---|
| Prep Time | 10 Minutes |
| Execution Time | 35 Minutes |
| Yield | 8 Servings |
| Complexity | 3/10 |
| Estimated Cost per Serving | $0.42 |
THE GATHERS
Ingredient Protocol:
- Steel-Cut Oats: 450g / 2 cups
- Filtered Water: 1.4L / 6 cups
- Whole Milk or Heavy Cream: 240ml / 1 cup
- Unsalted Grass-Fed Butter: 30g / 2 tablespoons
- Kosher Salt: 5g / 1 teaspoon
- Pure Maple Syrup: 60ml / 0.25 cup
- Toasted Walnuts: 100g / 1 cup
- Cinnamon Bark: 1 stick
Section A: Ingredient Quality Audit:
The primary failure point in Bulk Oatmeal Planning is the use of stale grains. If your oats smell like a dusty attic, the lipid oxidation has already begun. You cannot fix rancid fats. Use only steel cut oats for bulk prep; rolled oats lack the structural density to survive a three day refrigeration cycle without turning into a monolithic paste. If your water has a high mineral content, it will interfere with the hydration of the grain. Use filtered water to ensure the osmotic pressure allows for even swelling. If your butter is "fridge flavored," it will ruin the delicate nutty profile. Always use high quality, unsalted butter to control the sodium levels precisely.
THE MASTERCLASS

1. The Dry Toasting Phase
Place your saucier over medium heat and add the butter. Once the butter begins to foam, add the steel cut oats. Stir constantly with a heat resistant spatula for 5 minutes until the oats smell like toasted popcorn and have turned a deep golden hue.
Pro Tip: This step initiates the Maillard reaction, creating complex flavor compounds that raw boiling cannot replicate. A heavy bottomed saucier ensures even heat distribution, preventing localized scorching of the grain husks.
2. The Liquid Infusion
Slowly pour in the filtered water and the salt. The mixture will hiss and steam violently as the liquid hits the hot metal. Bring the mixture to a rolling boil, then immediately drop the heat to the lowest possible setting.
Pro Tip: Using a digital scale to measure your water by weight rather than volume ensures a perfect 1:3 or 1:4 ratio every time. This precision is vital for managing the viscous consistency required for long term storage.
3. The Low and Slow Hydration
Cover the pot with a tight fitting lid. Let the oats simmer for 25 to 30 minutes. Do not stir frequently. Excessive agitation at this stage breaks the starch granules prematurely, leading to a gummy texture rather than a creamy one.
Pro Tip: A bench scraper is the ideal tool for cleaning your workstation during this downtime. Keeping a sanitized environment prevents cross contamination during the bulk cooling process.
4. The Emulsification Finish
Once the oats are tender but still have a "bite," stir in the milk and maple syrup. Increase the heat slightly for two minutes to infuse the flavors and allow the fats to emulsify into the starch rich liquid.
Pro Tip: Adding dairy at the end prevents the proteins from scorching on the bottom of the pan during the long simmer. This maintains a clean, bright flavor profile without any "burnt milk" aftertaste.
Section B: Prep & Timing Fault-Lines:
The most common human error is the "set it and forget it" fallacy. If your heat is too high, the bottom layer will render into a carbonized crust while the top remains raw. If you undercook the oats, the centers will remain chalky, which is a failure of thermal penetration. Use an instant read thermometer; the internal temperature of the oat mass should reach 195 degrees Fahrenheit to ensure full starch gelatinization. If you are prepping for the week, you must cool the oats rapidly. Spreading them on a rimmed baking sheet increases surface area and prevents the "carryover cooking" that turns great oats into mush.
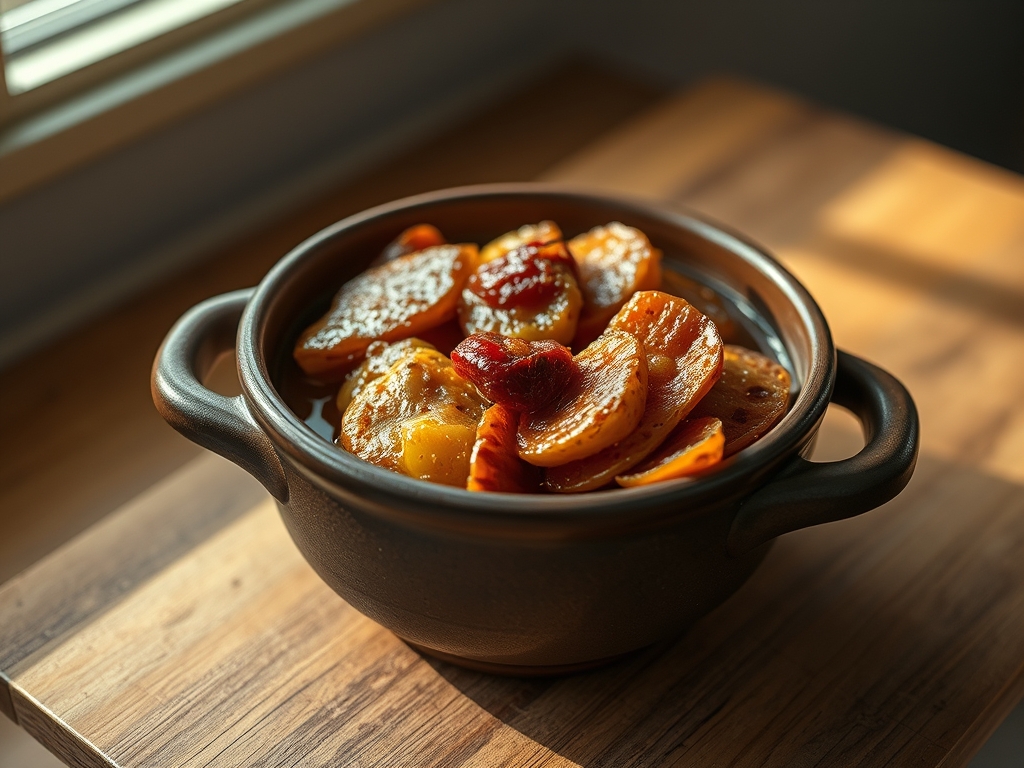
THE VISUAL SPECTRUM
Section C: Thermal & Visual Troubleshooting:
Look at the reference image above. Notice the individual definition of each oat grain; they are not lost in a sea of grey slime. If your oats look dull or grey, you likely skipped the toasting phase or used tap water with high chlorine levels. If you see "pooling" of liquid on top, the starch has not fully bound the water. Solution: Simmer uncovered for five more minutes while whisking gently to aerate the mixture. If the color is too pale, you can deglaze the bottom of the pan with a splash of apple cider to add acidity and brighten the visual palette. The final product should have a glossy sheen, indicating a successful fat to starch emulsion.
THE DEEP DIVE
The macro nutrition profile of this build is a powerhouse. You are looking at approximately 350 calories per serving, with 10 grams of protein, 8 grams of fiber, and 12 grams of healthy fats. This ratio is designed to stabilize blood sugar and prevent the insulin spikes associated with refined cereals.
For dietary swaps, the molecular structure remains stable if you replace butter with coconut oil and milk with cashew cream. For a keto variant, you must pivot away from oats entirely toward a hemp heart and chia seed base, though the hydration timing will change significantly. Gluten free oats are a direct 1:1 swap, provided they are certified "purity protocol" to avoid cross contamination.
Reheating science is where most people fail. As oats cool, the starches undergo retrogradation, becoming firm. To revive them, you must add a splash of liquid (water or milk) and heat slowly. This re hydrates the starch network without breaking the grain. Avoid the microwave if possible; a small saucepan on low heat will always yield a superior texture.
THE KITCHEN TABLE
Why are my oats gummy?
Gummy oats result from over stirring or using rolled oats for long simmers. Stirring shears the starch molecules, creating a sticky paste. Minimize agitation and use steel cut grains to maintain a distinct, pleasant texture.
Can I freeze bulk oatmeal?
Yes. Portioned oats freeze exceptionally well. To maintain molecular integrity, undercook them by five minutes before freezing. When you reheat, the final cooking stage happens as the ice crystals melt, preventing the grains from becoming over saturated.
How long do they last in the fridge?
Stored in an airtight glass container, these oats remain structurally sound for five days. Beyond that, the moisture begins to migrate, and the flavor profile flattens. Always smell for "sour" notes before consuming older batches.
What is the best way to add flavor?
Always infuse your liquids with aromatics like cinnamon sticks or vanilla beans during the simmer. For a piquant kick, add a pinch of cardamom or orange zest during the final emulsification phase for maximum aromatic impact.