Listen up, kitchen operatives. We are entering the high-stakes arena of thermal processing where the margin for error is measured in pH decimals. Forget the whimsical imagery of grandmothers in floral aprons; Tomato Sauce Canning is a rigorous exercise in biochemical stabilization and atmospheric pressure management. You are not just cooking; you are establishing a sterile environment capable of defying the laws of decay. Imagine the scent of vine-ripened Roma tomatoes undergoing a violent reduction, their cellular walls collapsing to release a viscous, crimson nectar that smells of summer sun and concentrated umami. The air should be thick with the piquant aroma of acidified pulp and the metallic tang of sterilized glass. If you fail to respect the chemistry, you are inviting anaerobic pathogens to a buffet. If you succeed, you are a god of preservation, capturing the fleeting peak of the harvest in a vacuum-sealed vault. We are here to audit your infrastructure, tighten your protocols, and ensure your pantry is a fortress of flavor.
THE DATA MATRIX
| Metric | Specification |
|---|---|
| Prep Time | 60 Minutes |
| Execution Time | 180 Minutes |
| Yield | 7 Liters (7 Quarts) |
| Complexity (1-10) | 8 |
| Estimated Cost per Serving | $0.85 |
THE GATHERS
Ingredient Protocol:
- 11.3 kg / 25 lbs San Marzano or Roma Tomatoes (High solids content is non-negotiable)
- 235 ml / 1 cup Bottled Lemon Juice (Standardized 5% acidity)
- 60 g / 4 tbsp Kosher Salt (Non-iodized for clarity)
- 15 g / 1 tbsp Citric Acid (Secondary acidification insurance)
- 120 ml / 0.5 cup Extra Virgin Olive Oil (To render aromatics)
- 500 g / 4 cups Yellow Onions (Finely diced)
- 30 g / 10 cloves Fresh Garlic (Minced)
- 10 g / 0.5 cup Fresh Basil Leaves (Chiffonade)
Section A: Ingredient Quality Audit:
The primary failure point in Tomato Sauce Canning is water content. If you use slicing tomatoes like Beefsteaks, your sauce will be watery and lack the viscous punch required for a premium audit. Technical fix: If your tomatoes are too juicy, extend the reduction time by 20% or utilize a food mill with a finer screen to discard excess aqueous liquid. Another critical vulnerability is the pH level of the tomatoes themselves. Modern hybrids are often bred for sweetness, which lowers their natural acidity. You must never rely on the fruit's inherent pH. Always use bottled lemon juice rather than fresh; bottled juice has a regulated, consistent acidity level that guarantees you stay below the 4.6 pH safety threshold.
THE MASTERCLASS
Step 1: The Blanch and Shock Manuever
Prepare a 12-quart stockpot of boiling water and a large basin of ice slurry. Score a shallow "X" on the bottom of each tomato using a paring knife. Submerge the fruit for 30 to 60 seconds until the skin begins to curl. Immediately transfer them to the ice bath to halt the thermal carryover.
Pro Tip: This process uses thermal shock to expand the skin faster than the flesh, breaking the cellular bond. Use a high-quality stainless steel spider strainer to ensure rapid transfer and maintain the structural integrity of the fruit.
Step 2: Mechanical Pulp Extraction
Peel the tomatoes and run them through a food mill or a specialized tomato press. This tool is essential to separate the seeds and lignified skins from the pulp. The resulting liquid should be a vibrant, aerated slurry.
Pro Tip: Set your food mill over a wide-bottomed saucier. The increased surface area of a saucier allows for faster evaporation during the reduction phase, preventing the sauce from darkening too much through excessive caramelization.
Step 3: The Aromatic Infusion
In a separate heavy-bottomed pan, heat your olive oil over medium-low heat. Add the onions and garlic, sautéing until translucent but not browned. You want to infuse the oil with aromatics without introducing bitter, charred notes.
Pro Tip: Use a digital scale to ensure your aromatic-to-tomato ratio is precise. Overloading the sauce with low-acid vegetables like onions can shift the pH balance into the danger zone, requiring additional acidification.
Step 4: The Great Reduction
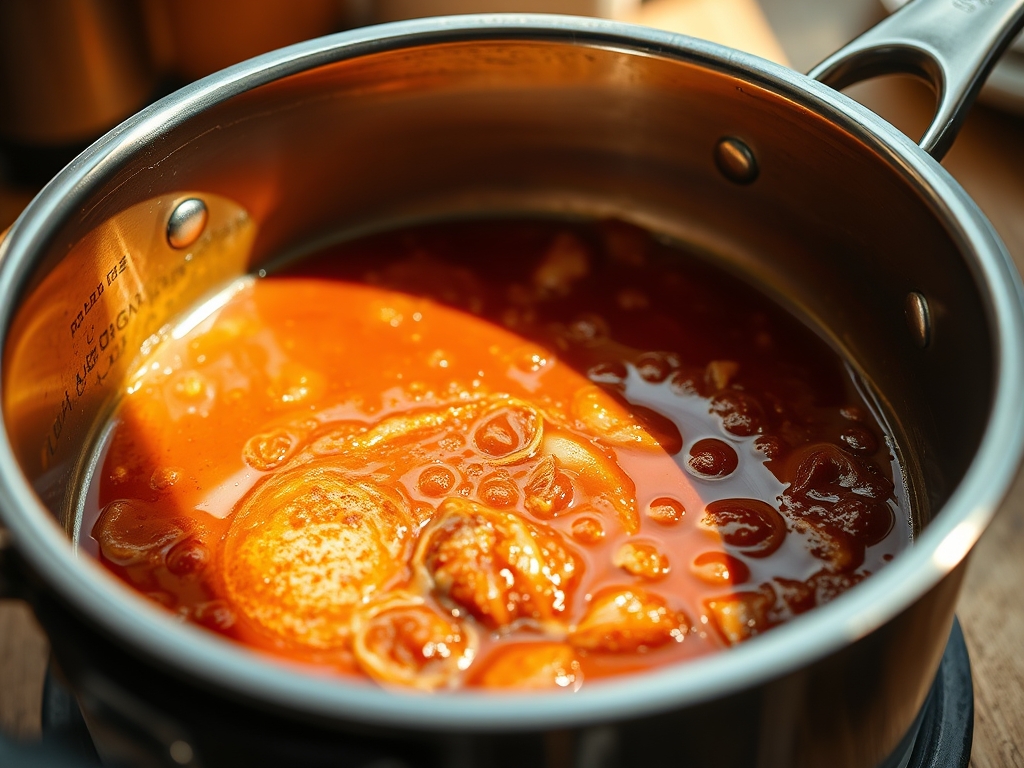
Combine the tomato pulp with the aromatics in your large stockpot. Bring to a boil, then reduce to a steady simmer. Cook until the volume has reduced by nearly half, achieving a thick, clingy consistency. Stir frequently with a long-handled silicone spatula to prevent scorching at the base.
Pro Tip: Use a laser thermometer to monitor the sauce. You are looking for a consistent simmer around 190 degrees Fahrenheit (88 Celsius) to ensure even heat distribution and prevent localized hotspots from ruining the batch.
Step 5: Acidification and Jar Loading
Sterilize your jars in boiling water. Into each quart jar, add 2 tablespoons of bottled lemon juice and 1 teaspoon of salt. Ladle the hot sauce into the jars, leaving exactly 1/2 inch of headspace.
Pro Tip: Use a magnetic lid lifter and a wide-mouth funnel to maintain a sterile field. A bench scraper is surprisingly useful here to tidy up any spills on your workstation before the jars are sealed.
Step 6: Thermal Processing
Wipe the rims with a clean, damp cloth to ensure a perfect seal. Apply the lids and bands until fingertip tight. Process in a boiling water bath for 40 minutes (adjusting for altitude).
Pro Tip: The science here is simple: boiling water forces air out of the jar. As it cools, a vacuum is created. Ensure the water level is at least 1 inch above the jar lids to maintain constant atmospheric pressure.
Section B: Prep & Timing Fault-Lines:
Timing is the silent killer. If you leave peeled tomatoes sitting at room temperature for too long before cooking, enzymatic browning begins to degrade the color and flavor. Furthermore, if your water bath isn't at a full rolling boil before you start the timer, the internal temperature of the jars may not reach the kill-zone for spoilage organisms. Use a calibrated kitchen timer and never guestimate. If the boil breaks, restart the clock.
THE VISUAL SPECTRUM
Section C: Thermal & Visual Troubleshooting:
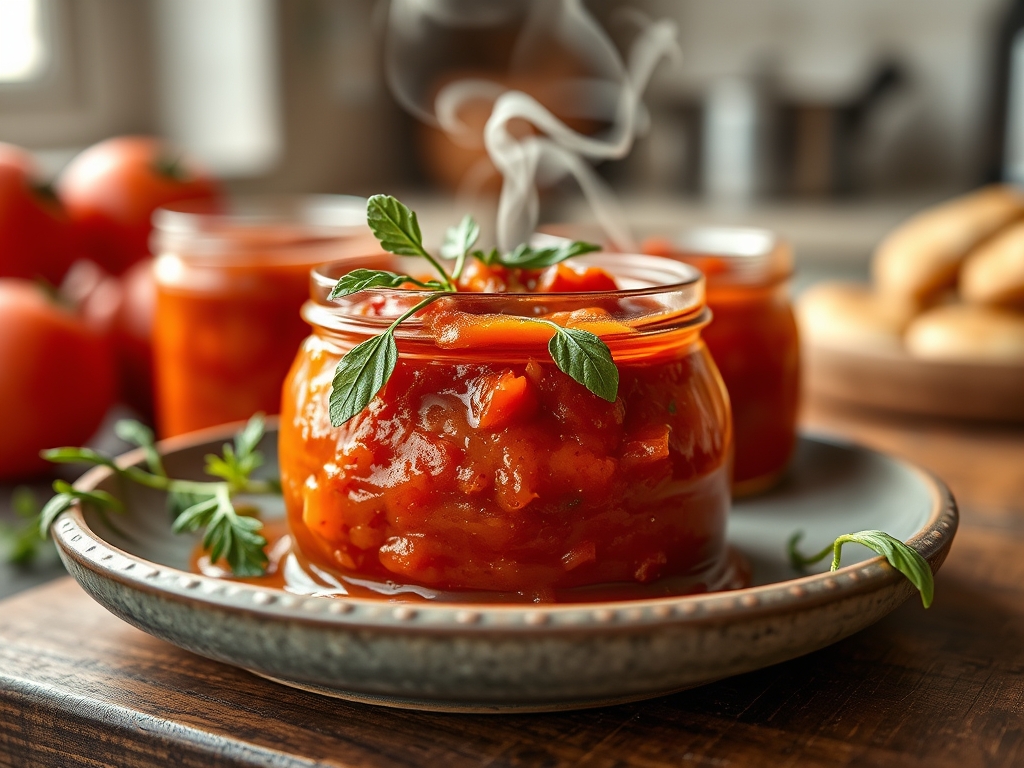
Look at the Masterclass photo. Note the deep, uniform crimson hue and the absence of separated water at the edges. If your sauce appears orange or pale, you likely aerated it too much during the milling process or failed to reduce it sufficiently. Dull colors often indicate over-processing or the use of bruised fruit. If you see bubbles trapped in the jar after filling, use a non-metallic spatula to release them; trapped air can lead to oxidation and discoloration during storage. A "broken" sauce where solids settle at the bottom is usually the result of "cold-breaking" the tomatoes; heating them rapidly to 180 degrees Fahrenheit immediately after crushing deactivates the enzymes responsible for separation.
THE DEEP DIVE
Macro Nutrition Profile:
A standard 125ml (1/2 cup) serving contains approximately 60 calories, 2g of protein, 10g of carbohydrates, and 2g of healthy fats from the olive oil. It is an antioxidant powerhouse, loaded with lycopene which becomes more bioavailable after the thermal processing of canning.
Dietary Swaps:
- Vegan: Naturally compliant.
- Keto: Eliminate the onions or reduce them by 50% to lower the net carb count.
- GF: Naturally gluten-free; ensure your citric acid is derived from non-grain sources if sensitivity is extreme.
Meal Prep & Reheating Science:
Canned tomato sauce is the ultimate meal prep foundation. When reheating, do so slowly over medium heat. If the sauce has thickened too much in the jar, deglaze the pan with a splash of pasta water or dry white wine to re-emulsify the fats and sugars. This restores the molecular glide of the sauce without diluting the flavor.
THE KITCHEN TABLE
Can I use fresh lemon juice instead of bottled?
Negative. Fresh lemons vary wildly in acidity. For safety-critical canning, you must use bottled juice with a standardized 5% acidity to ensure the pH remains below the 4.6 threshold required to prevent botulism.
Why did my jars lose liquid during processing?
This is "siphoning." It happens due to rapid temperature fluctuations or improper headspace. Ensure you leave exactly 1/2 inch of space and let the jars sit in the hot water for 5 minutes after turning off the heat.
Is it okay to add meat or mushrooms to this sauce?
Absolutely not for water-bath canning. Low-acid additions like meat or fungi require a pressure canner to reach 240 degrees Fahrenheit. Adding them to a water-bath recipe creates a significant biological hazard.
How long will these jars actually last in the pantry?
When stored in a cool, dark environment, the seal will remain viable for 12 to 18 months. For peak nutritional density and flavor profile, aim to consume your inventory within one calendar year.