Listen to the rhythmic, metallic chatter of the weighted regulator; it is the sound of absolute victory over the invisible microbial abyss. We are not merely cooking; we are engaging in high-stakes thermodynamic warfare. Pressure Canning Meat is the gold standard of culinary self-sufficiency, turning raw protein into shelf-stable gold that defies the standard laws of decay. Imagine cracking open a jar three years from today to find beef so tender it collapses at the mere suggestion of a fork, bathed in a natural jus that has undergone a slow-motion Maillard transformation inside the glass. This is the ultimate infrastructure project for your pantry. We are targeting the total inactivation of Clostridium botulinum spores, which require a precise environment of 240 degrees Fahrenheit to surrender. Forget the freezer burn and the power outages of the modern world. By mastering the pressure gauge and the headspace, you are building a biological fortress. This is where high-pressure physics meets the art of the braise. Let us calibrate the equipment and begin the audit.
THE DATA MATRIX
| Metric | Specification |
|---|---|
| Prep Time | 60 Minutes |
| Execution Time | 90 Minutes (at pressure) |
| Yield | 9 Pints / 4.5 Liters |
| Complexity (1-10) | 8 (Safety Critical) |
| Estimated Cost per Serving | $2.15 |
THE GATHERS
Ingredient Protocol:
- 2.25 kg / 5 lbs Lean Beef Chuck or Venison
- 45 g / 3 tbsp Coarse Sea Salt (Non-iodized)
- 10 g / 2 tsp Black Peppercorns (Whole)
- 475 ml / 2 cups Beef Bone Broth (Optional for Hot Pack)
- 4 large / 4 Bay Leaves
- 150 g / 1 cup Yellow Onion (Finely diced)
Section A: Ingredient Quality Audit:
The primary failure point in meat preservation is fat oxidation. Excessive adipose tissue will render during the thermal process, creating a thick grease layer that can interfere with the lid's plastisol seal. If your meat is too fatty, use a sharp boning knife to trim it to a lean profile. Another common fault is using iodized salt; the iodine can cloud the liquid and create a bitter, metallic aftertaste. Always opt for pure canning salt or sea salt. If the meat appears "grey" or lacks turgor before processing, it has already begun enzymatic breakdown. You cannot preserve your way out of poor quality. Only use muscle tissue that is firm, cold, and vibrant in color to ensure the final product maintains its structural integrity after the intense heat cycle.
THE MASTERCLASS
Step 1: The Cubing Protocol
Utilize a sharpened chef knife or a heavy-duty bench scraper to organize your workstation. Cut the chilled meat into uniform 1-inch (2.5 cm) cubes. Consistency is not just aesthetic; it ensures that heat penetration is identical across every piece of protein in the jar.
Pro Tip: Use a digital scale to ensure each jar receives the exact same mass of protein. This prevents "over-packing," which can insulate the center of the jar and prevent it from reaching the necessary internal temperature to kill spores.
Step 2: The Searing Phase (Optional Hot Pack)
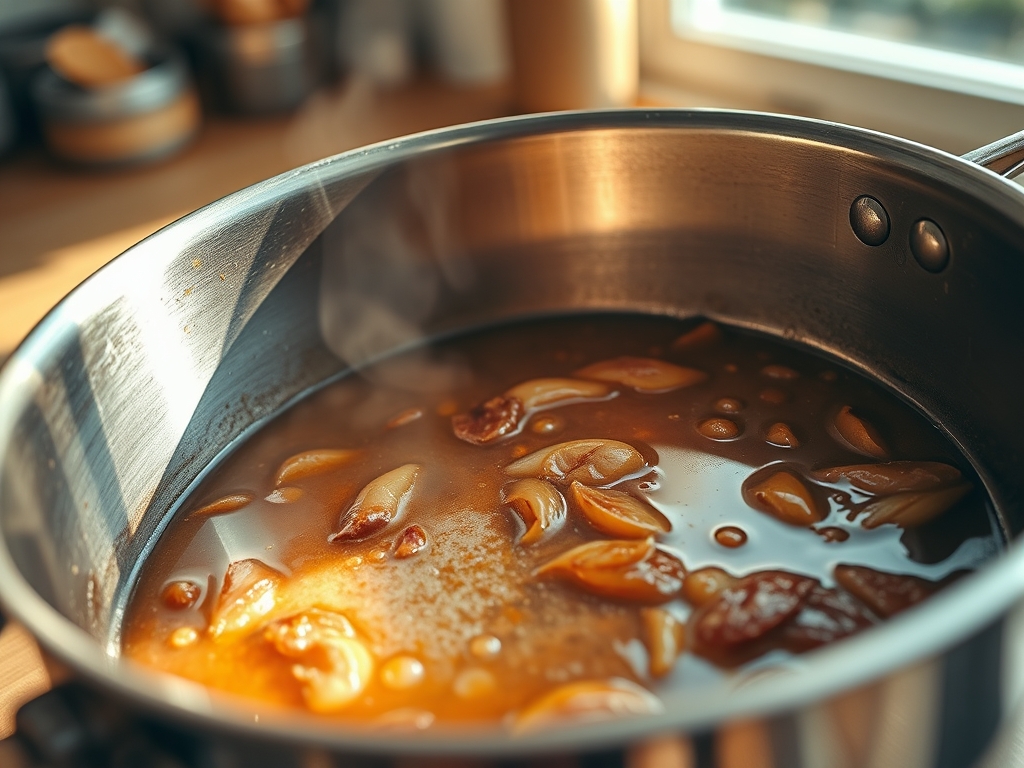
Place a heavy-bottomed saucier or cast-iron skillet over high heat. Sear the meat in small batches to deglaze the fond and develop complex flavors through the Maillard reaction. You are not cooking the meat through; you are simply creating a flavor profile that will infuse the liquid during the canning process.
Pro Tip: Do not crowd the pan. Crowding lowers the surface temperature, causing the meat to steam in its own juices rather than sear. High heat is essential to lock in the exterior texture before the long-duration pressure cycle begins.
Step 3: Jar Sanitization and Loading
Sterilize your jars in boiling water. Pack the meat into the jars, leaving exactly 1 inch (2.5 cm) of headspace. This gap is the "expansion chamber" required for the vacuum to form as the jars cool. Add your salt and spices to each jar.
Pro Tip: Use a non-metallic bubble remover or a plastic spatula to release trapped air pockets. Trapped air can expand violently under pressure, potentially causing "siphoning," where the liquid is forced out of the jar, compromising the seal.
Step 4: The Pressure Ascent
Place the jars in the pressure canner with 2 to 3 inches of water. Secure the lid but leave the vent pipe open. Allow steam to escape in a steady stream for 10 minutes before placing the weight or closing the petcock. This "exhausting" phase ensures the internal atmosphere is pure steam, which conducts heat more efficiently than an air-steam mixture.
Pro Tip: Professional auditors use a calibrated dial gauge. If your altitude is above 1,000 feet, you must increase your pressure (PSI) to compensate for the lower boiling point of water. Consult an altitude chart to ensure you hit the 240-degree Fahrenheit threshold.
Step 5: The Controlled Descent
Once the 90-minute timer expires, turn off the heat and let the pressure drop to zero naturally. Do not attempt to force-cool the canner by removing the weight or dousing it in water. A sudden drop in pressure will cause the liquid inside the jars to boil over and spray out from under the lids.
Pro Tip: Patience is a chemical necessity. The slow cooling allows the proteins to relax and the vacuum to pull the lid down firmly. A "ping" sound indicates a successful seal, but the bond is not permanent until the jars have sat undisturbed for 24 hours.
Section B: Prep & Timing Fault-Lines:
The most dangerous error is "short-cycling," or failing to maintain consistent pressure. If the pressure drops below the target PSI for even a minute, the entire timer must be restarted from zero. Fluctuating heat causes the liquid to surge, leading to seal failure. Use a kitchen timer separate from your phone to ensure no interruptions. Additionally, failing to wipe the rim of the jar with white vinegar before capping is a common human error. Even a microscopic speck of fat on the rim will prevent the plastisol from bonding to the glass, resulting in a jar that spoils within weeks.
THE VISUAL SPECTRUM
Section C: Thermal & Visual Troubleshooting:
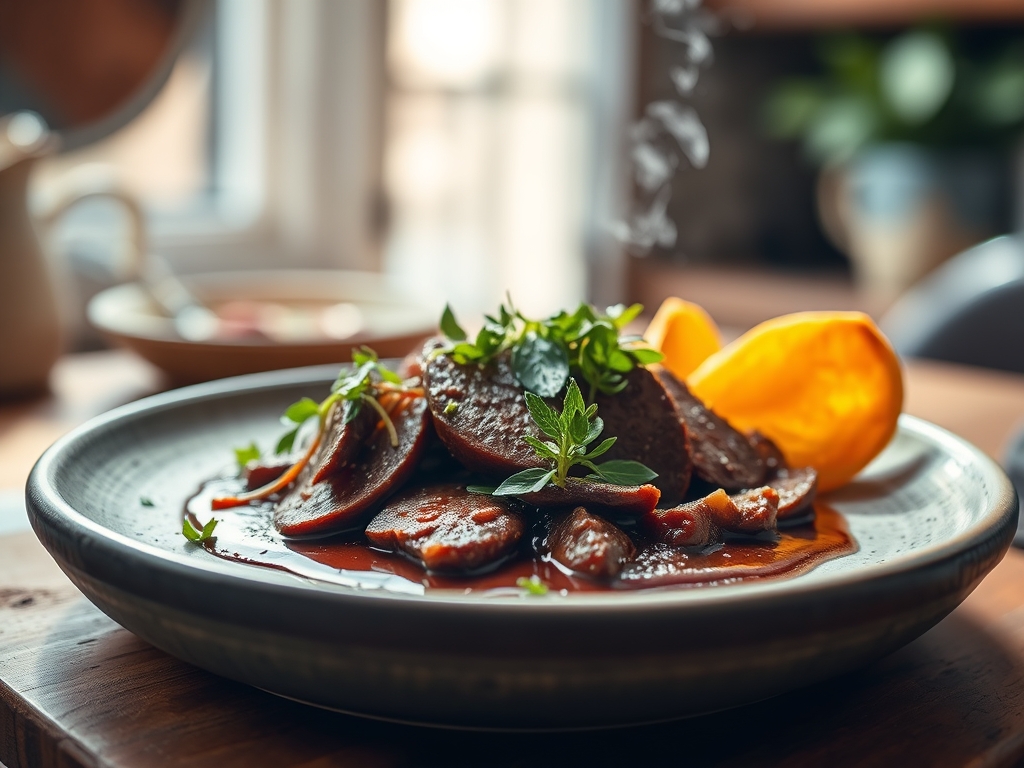
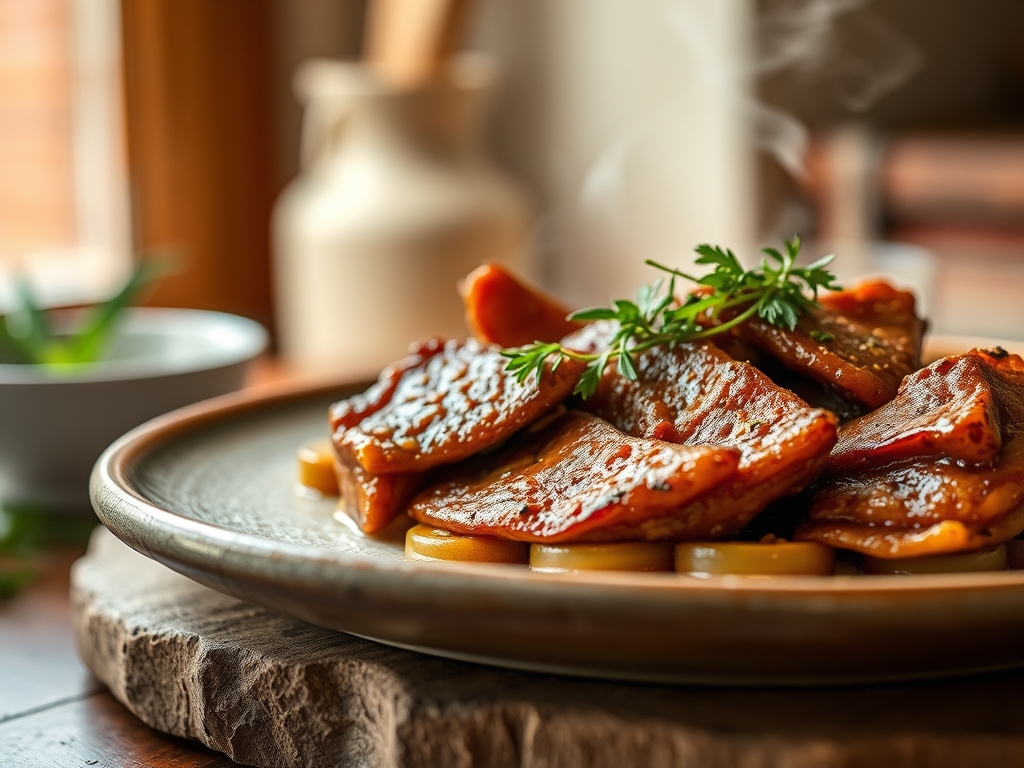
Referencing the Masterclass photo, your jars should display a clear separation of solids and a viscous, translucent broth. If the liquid is excessively cloudy, you likely skipped the searing step or used meat with too much connective tissue that has dissolved into gelatin. If the meat at the top of the jar looks darker than the meat at the bottom, this is "oxidation" caused by too much headspace. It is safe to eat but indicates a lack of precision in your fill levels. Uneven browning is usually a result of skipping the deglaze step in the saucier. To fix dull colors in future batches, ensure you are using fresh, high-quality spices rather than pre-ground powders that have lost their volatile oils.
THE DEEP DIVE
Macro Nutrition Profile:
Pressure-canned meat is a powerhouse of bioavailable protein. A standard 100g serving contains approximately 26g of protein, 8g of fat, and 0g of carbohydrates. Because the meat is cooked in its own juices, it retains 100 percent of its mineral content, including iron, zinc, and B-vitamins, which are often lost in traditional roasting where juices evaporate.
Dietary Swaps:
- Keto/Paleo: This method is inherently compliant. Avoid adding starches or thickeners like flour, as they alter the density and safety timing.
- Vegan/Vegetarian: This infrastructure can be applied to chickpeas or black beans. However, legumes require a different processing time (usually 75 minutes for pints) to avoid turning them into mush.
- Low Sodium: Omit the salt entirely. Salt is a flavor enhancer in canning, not a preservative; the heat does the preserving.
Meal Prep & Reheating Science:
When reheating, you are essentially "finishing" a long-duration braise. To maintain the molecular structure, do not microwave the meat on high power, which can toughen the fibers. Instead, empty the contents into a small pot and simmer gently. This allows the gelatinous broth to aerate and re-coat the muscle fibers, restoring the succulent mouthfeel.
THE KITCHEN TABLE
Can I use a water bath canner for meat?
Absolutely not. Water bath canners only reach 212 degrees Fahrenheit. Botulinum spores survive boiling water easily. You must use a pressure canner to reach the 240-degree threshold required for low-acid food safety.
Why is there less liquid in the jar now?
This is called siphoning. It happens if the pressure fluctuates or if you didn't leave enough headspace. As long as the jar is sealed, the meat is safe, but use those jars first as the exposed meat may discolor.
How long does pressure canned meat actually last?
While the USDA suggests one year for peak quality, a properly sealed jar kept in a cool, dark place can remain shelf-stable for 3 to 5 years. Always check for a vacuum seal before opening.
Do I need to add liquid to the jars?
In a "Raw Pack," the meat creates its own juices. In a "Hot Pack," you add broth. Hot packing generally results in better color and texture because it removes more air from the meat tissues before sealing.