The kitchen is a laboratory of kinetic energy and the smell of success is purely chemical. When you crack open a canister of Dry Mix Pancakes, you are not just preparing a meal; you are initiating a sequence of controlled molecular expansions. Imagine the hiss of a preheated cast iron surface meeting a viscous stream of batter. Within seconds, the carbon dioxide trapped in the starch matrix begins to fight for freedom. This is the infrastructure of the portable breakfast. It is a masterpiece of dry storage engineering that allows for a five-minute transition from a dormant powder to a golden, aerated disc of culinary perfection. We are moving beyond the amateur realm of lumpy, flavorless discs. We are auditing the very foundation of the pancake. This is about precision ratios, thermal management, and the ruthless pursuit of the perfect crumb. If your current breakfast routine lacks the structural integrity to survive a Tuesday morning, it is time for a systemic overhaul. Let us dissect the data and rebuild your morning from the atoms up.
THE DATA MATRIX
| Metric | Specification |
|---|---|
| Prep Time | 3 Minutes |
| Execution Time | 8 Minutes |
| Yield | 12 Standard Discs |
| Complexity (1-10) | 3 |
| Estimated Cost per Serving | $0.42 USD |
THE GATHERS
Ingredient Protocol:
- 250g / 2 cups All-Purpose Flour (unbleached)
- 15g / 1 tbsp Granulated Sugar
- 10g / 2 tsp Double-Acting Baking Powder
- 3g / 0.5 tsp Fine Sea Salt
- 350ml / 1.5 cups Whole Milk (room temperature)
- 1 Large Egg (beaten)
- 45ml / 3 tbsp Unsalted Butter (melted and cooled)
- 5ml / 1 tsp Pure Vanilla Extract
Section A: Ingredient Quality Audit:
The primary failure point in Dry Mix Pancakes is often the leavening agent. Baking powder has a shelf life that expires long before the container is empty. If your pancakes resemble leaden coasters, your powder has likely lost its potency. To test, drop a teaspoon of the mix into hot water; if it does not immediately erupt in a violent fizz, discard it. Furthermore, the protein content of your flour dictates the chew. For a tender crumb, avoid high-protein bread flours which develop too much gluten. If you find your batter is too elastic, incorporate a small amount of cornstarch to soften the protein structure. Finally, ensure your fats are high quality. Low-grade butter contains excess water which can steam the batter rather than fry it, leading to a soggy exterior.
THE MASTERCLASS
Step 1: The Dry Sifting Protocol
Combine your flour, sugar, leavening, and salt into a large stainless steel bowl. Use a fine-mesh sieve or a professional whisk to aerate the mixture. This ensures that the chemical leaveners are distributed with mathematical precision, preventing "hot spots" of bitter baking powder.
Pro Tip: Use a digital scale for this step. Volumetric measurements are notoriously unreliable because flour density changes based on humidity. A scale ensures a consistent moisture-to-dry ratio every single time.
Step 2: Emulsifying the Liquid Phase
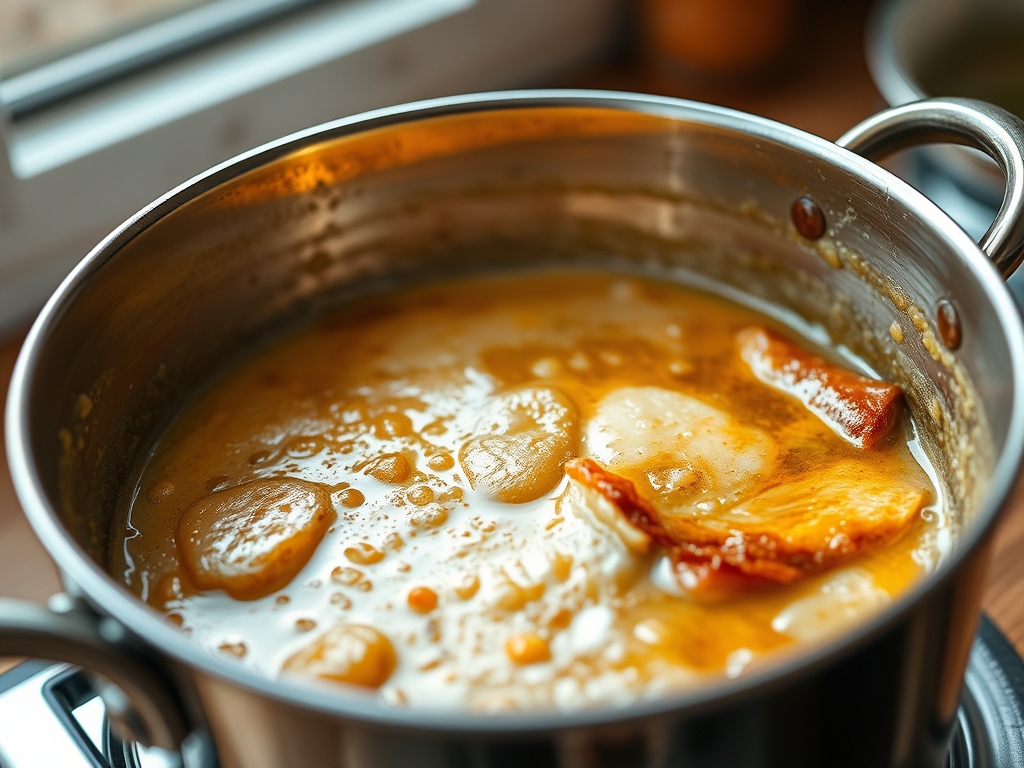
In a separate saucier or glass measuring jug, whisk the milk, egg, vanilla, and melted butter. The goal is to create a homogenous emulsion where the fats are suspended evenly throughout the liquid. This prevents the butter from clumping when it hits the cool milk.
Pro Tip: Temperature control is vital. If the milk is ice-cold, it will shock the melted butter into solid pellets. Ensure all liquid components are at room temperature to maintain a smooth, viscous consistency.
Step 3: The Integration Phase
Create a well in the center of the dry ingredients and pour in the liquid phase. Use a bench scraper or a large spatula to fold the ingredients together. Stop the moment the flour streaks disappear. A few lumps are not just acceptable; they are mandatory for structural integrity.
Pro Tip: Over-mixing triggers gluten development. If you stir until the batter is perfectly smooth, you are essentially making bread dough. This results in a tough, rubbery texture rather than a light, fluffy cake.
Step 4: Thermal Calibration and Deployment
Heat a heavy-bottomed skillet over medium heat. Lightly grease the surface with a high-smoke-point oil. Pour approximately 60ml of batter onto the hot surface. Wait for bubbles to form and pop on the surface before using a thin offset spatula to flip the disc.
Pro Tip: Use an infrared thermometer to verify the surface temperature is between 375F and 400F. This range is the "sweet spot" for the Maillard reaction, ensuring a deep golden hue without scorching the interior.
Section B: Prep & Timing Fault-Lines:
The most common human error is the "Early Flip." Flipping before the bubbles have stabilized the internal structure leads to a collapsed center. Conversely, waiting too long allows the bottom to carbonize. Monitor the edges; they should look matte and set, not shiny. Another timing error involves the batter rest period. If you let the batter sit for more than twenty minutes, the initial chemical reaction of the baking powder will dissipate, leaving you with flat results. If you must prep ahead, keep the dry and wet components separate until the exact moment of execution.
THE VISUAL SPECTRUM
Section C: Thermal & Visual Troubleshooting:
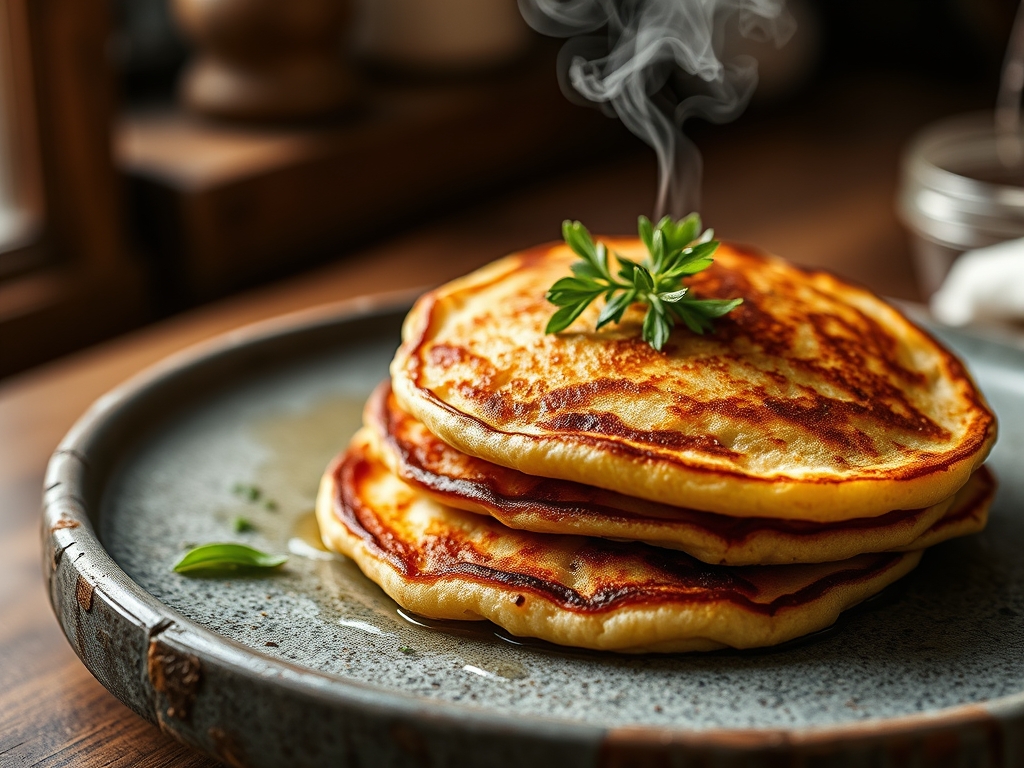
Referencing the Masterclass photo, the ideal pancake features a uniform, "leopard-spotted" browning pattern. If your pancakes are pale and splotchy, your pan is likely too cold or has too much surface oil. If they are dark on the outside but raw in the center, your thermal output is too high; reduce the flame and allow the pan to normalize. Dull, greyish colors indicate old leavening or oxidized flour. To infuse more visual appeal, ensure you are using fresh, high-fat dairy which aids in the browning process. If the edges are ragged, your batter is too thin; add a tablespoon of flour to increase the viscosity and hold the shape.
THE DEEP DIVE
Macro Nutrition Profile:
A standard serving of three pancakes provides approximately 450 calories, 12g of protein, 55g of carbohydrates, and 18g of fat. While high in energy, the glycemic load is significant. To mitigate a mid-morning crash, consider pairing with a high-protein side or substituting a portion of the flour with whole grains.
Dietary Swaps:
For a Vegan configuration, replace the milk with oat milk and the egg with a "flax egg" (1 tbsp ground flax plus 3 tbsp water). For a Gluten-Free version, utilize a 1-to-1 rice-flour-based blend with added xanthan gum to mimic the gluten structure. For Keto enthusiasts, almond flour and erythritol can be used, though the lack of starch will result in a more fragile, less aerated disc.
Meal Prep & Reheating Science:
To maintain the molecular structure during reheating, avoid the microwave, which turns starches rubbery. Instead, use a toaster or a low-temperature oven. This recrisps the exterior fats and prevents the interior from becoming a soggy mass. You can freeze cooked discs with parchment paper separators for up to thirty days without significant degradation of flavor or texture.
THE KITCHEN TABLE
How do I make my pancakes fluffier?
Ensure your baking powder is fresh and do not over-mix the batter. The lumps contain trapped air pockets that expand during cooking. Using buttermilk instead of regular milk also provides an acidic boost to the leavening process.
Why are my pancakes flat?
Flatness usually stems from over-mixing or expired leavening agents. If you stir the batter until it is smooth, you pop all the air bubbles. Additionally, thin batter lacks the surface tension to hold its height on the griddle.
Can I make the mix in bulk?
Absolutely. Combine the dry ingredients in a large airtight container. When ready to cook, simply measure out the dry portion and add the corresponding ratios of wet ingredients. This is the ultimate infrastructure for a rapid-response breakfast.
What is the best oil for frying?
Use a neutral oil with a high smoke point, such as grapeseed or canola. While butter tastes excellent, its milk solids burn quickly. For the best of both worlds, use a tiny amount of clarified butter (ghee).