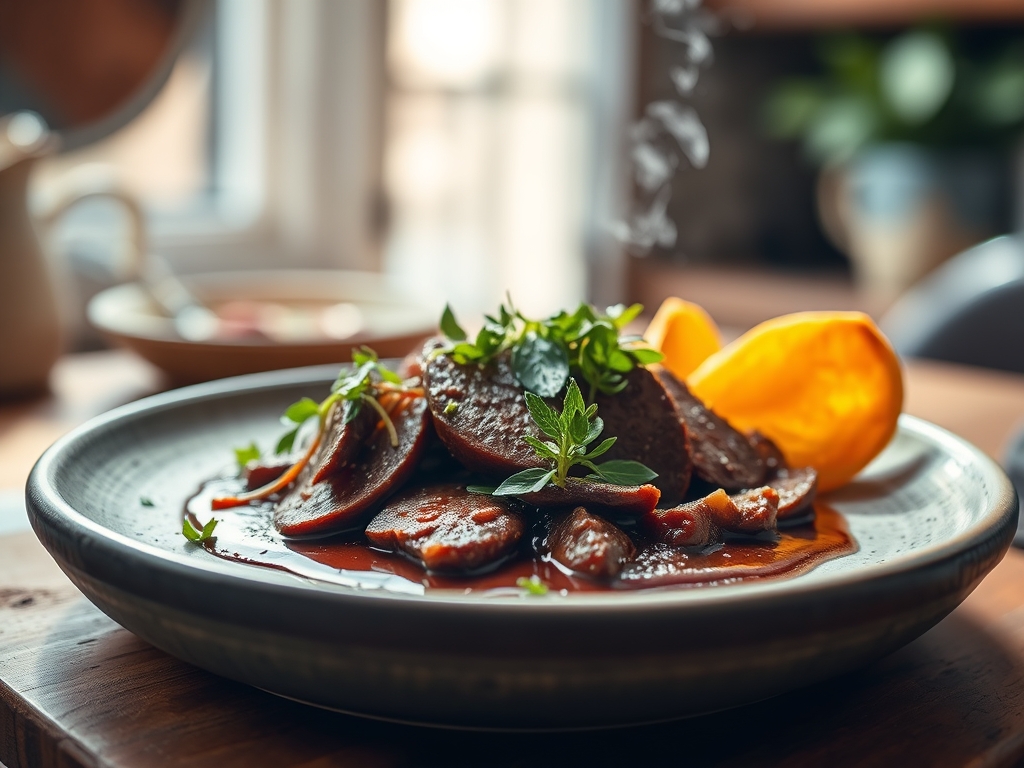
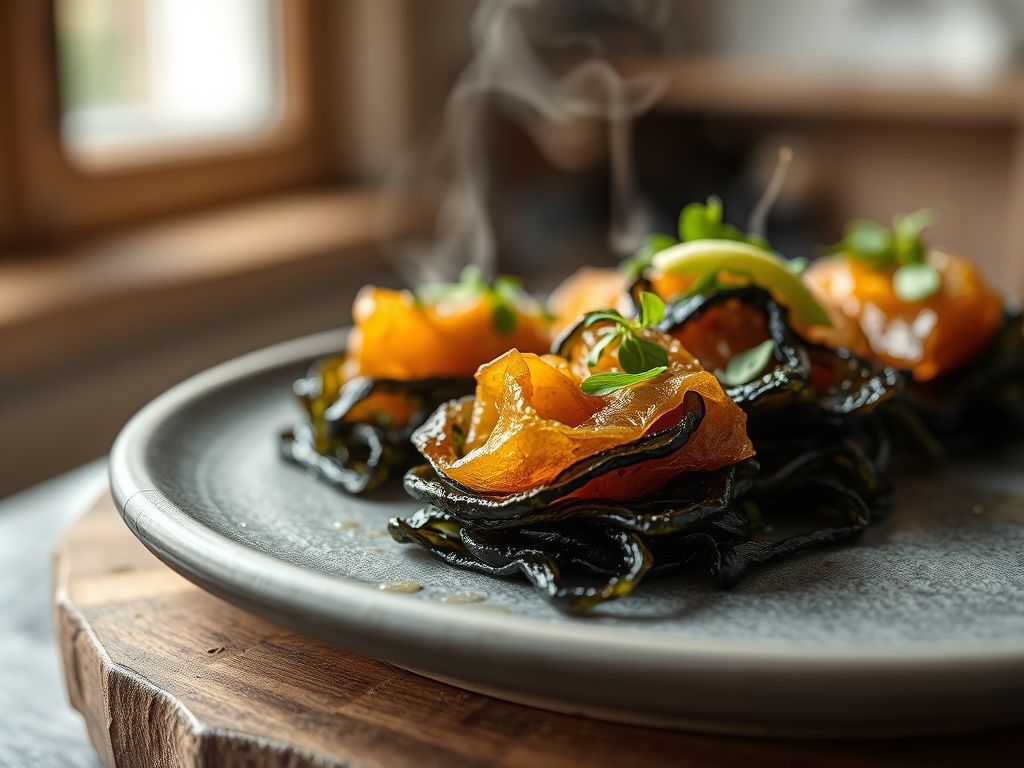
Listen up, flavor auditors. We are currently standing at the intersection of oceanic mineral density and high-velocity crunch. If your snacking routine has become a desolate wasteland of bland starches and uninspired sodium, consider this your emergency broadcast. We are deploying the Seaweed Alert Snack; a high-performance, iodine-rich infrastructure project designed to overhaul your cellular satisfaction. This is not just a light bite; it is a structural masterpiece of umami and crispness that demands precision. Imagine the snap of a perfectly tempered sheet of nori, fused with a micro-thin layer of seasoned rice starch that has been aerated to the point of structural instability. The sensory profile is a violent collision of briny depth and piquant spice, shattering upon impact with the palate to release a cloud of toasted sesame and sea salt. We are moving beyond the primitive bag of chips. We are building a snack that functions as a delivery system for essential minerals, utilizing the Seaweed Alert Snack protocol to ensure maximum bioavailability and unyielding texture. Prepare for a total system reboot.
THE DATA MATRIX
| Metric | Specification |
|---|---|
| Prep Time | 15 Minutes |
| Execution Time | 25 Minutes |
| Yield | 4 Large Batches |
| Complexity (1-10) | 4 |
| Estimated Cost per Serving | $1.15 |
THE GATHERS
Ingredient Protocol:
- 10 Sheets / 25g: High-grade Nori (Roasted Seaweed)
- 120ml / 0.5 cup: Glutinous rice flour (for the structural adhesive)
- 180ml / 0.75 cup: Filtered water (room temperature)
- 5ml / 1 tsp: Toasted sesame oil (to infuse lipid depth)
- 2g / 0.5 tsp: Fine sea salt
- 15g / 1 tbsp: Toasted white sesame seeds
- 2g / 0.5 tsp: Gochugaru or red chili flakes (for the piquant finish)
- 500ml / 2 cups: Neutral high-smoke point oil (Grape seed or Avocado oil)
Section A: Ingredient Quality Audit:
If your nori sheets feel limp or "rubbery" before you even begin, they have already absorbed ambient moisture. This is a critical failure in the raw material stage. To fix this, pass the sheets quickly over a low gas flame using metal tongs to render out the moisture before applying the starch slurry. If your rice flour is gritty rather than powdery, your slurry will fail to aerate properly during the fry. Always sift your dry components through a fine-mesh strainer. If the sesame oil smells acrid, it has oxidized; discard it immediately as the rancid lipids will destroy the delicate oceanic notes of the Seaweed Alert Snack.
THE MASTERCLASS
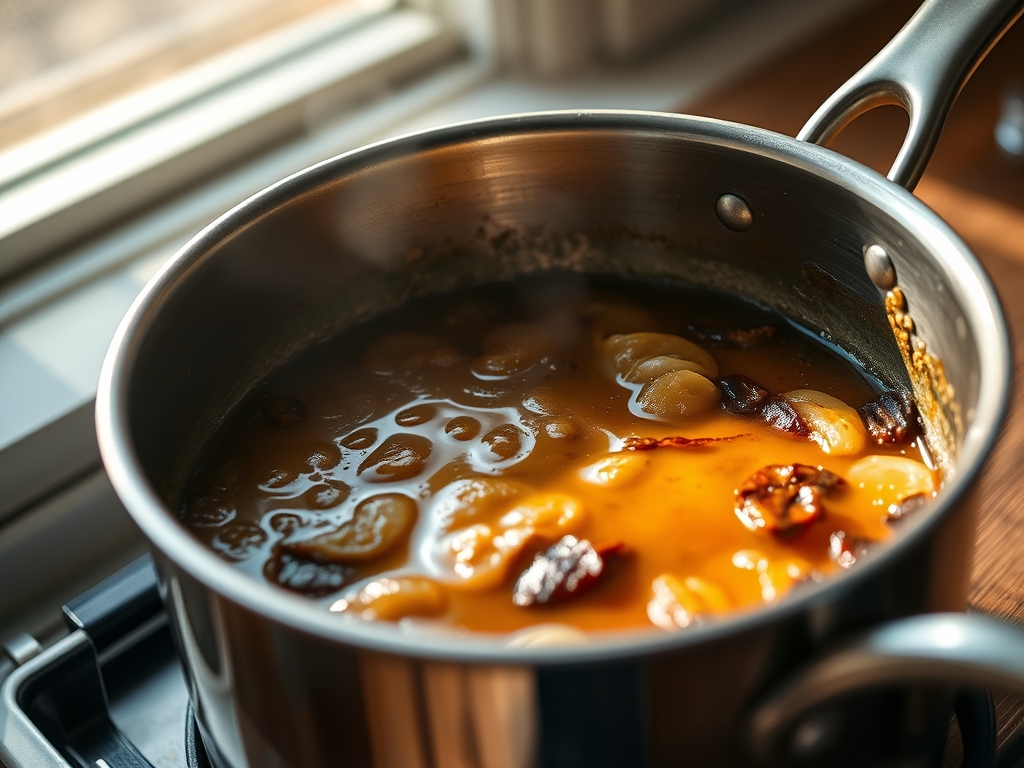
1. Slurry Synthesis and Hydration
Combine the glutinous rice flour, water, and sea salt in a small saucier or stainless steel bowl. Whisk vigorously until the mixture is completely homogenous and lacks any visible particulates. The goal is to create a viscous coating that clings to the nori without weighing it down.
Pro Tip: Use a digital scale to measure your flour. Volumetric measurements are notoriously inaccurate; a 5-gram variance can be the difference between a shatter-crisp chip and a leaden, chewy disaster. The science here is starch gelatinization; the water must be fully absorbed to create a stable matrix.
2. The Lamination Process
Lay one sheet of nori on a clean silicone mat or use a bench scraper to clear a workspace. Brush a thin, even layer of the rice slurry over the top half of the sheet. Fold the bottom half over to create a laminated sandwich. Apply a second, micro-thin layer of slurry to the top of this new rectangle.
Pro Tip: This lamination creates internal air pockets. When the moisture in the slurry hits the hot oil, it turns to steam instantly, forcing the layers apart and creating the signature "puff" of a professional Seaweed Alert Snack.
3. Seeding and Seasoning Deployment
While the slurry is still wet, sprinkle the toasted sesame seeds and chili flakes across the surface. Press them lightly into the starch to ensure they are anchored for the thermal transition. Use a sharp knife or a rolling pizza cutter to divide the sheets into uniform 2-inch squares.
Pro Tip: Consistency in size is not just for aesthetics; it ensures a uniform thermal load. If your chips are different sizes, the small ones will over-brown and turn bitter before the large ones have finished their molecular transformation.
4. Thermal Execution
Heat your oil in a deep heavy-bottomed pan until it reaches exactly 175C (350F). Drop the squares in small batches, ensuring they do not overlap. They should expand and float within three seconds. Fry for approximately 15 to 20 seconds per side until the starch layer is opaque and crisp.
Pro Tip: Use an infrared thermometer to monitor oil temperature. If the temperature drops below 160C, the starch will absorb oil rather than repelling it, resulting in a greasy failure. We want a rapid flash-fry to preserve the volatile compounds in the seaweed.
5. De-oiling and Final Audit
Remove the chips using a slotted spoon or spider strainer and place them immediately onto a wire cooling rack set over a tray. Do not use paper towels; they trap steam and will soften the bottom of your chips.
Pro Tip: The wire rack allows for 360-degree airflow. This rapid cooling "sets" the starch structure, ensuring the crunch remains stable for days rather than minutes.
Section B: Prep & Timing Fault-Lines:
The most common human error is "crowding the pan." When too many chips are added at once, the oil temperature crashes. This leads to an oil-logged snack that lacks the necessary structural integrity. Another failure point is the "wet-brush syndrome." If you apply too much slurry, the center of the chip will remain chewy while the edges burn. Aim for a translucent coating; if it looks like white paint, you have gone too far.
THE VISUAL SPECTRUM
Section C: Thermal & Visual Troubleshooting:
Referencing the Masterclass photo, your chips should exhibit a dual-tone aesthetic. The seaweed side should remain a deep, dark forest green, while the starch side should be a pale, bubbly ivory with golden highlights around the sesame seeds. If your chips are dark brown, the sugars in the seaweed have scorched; reduce your heat. If the starch looks flat and smooth rather than blistered, your oil was too cold or your slurry was too thick. Dull, matte colors indicate that the oil was old; always use fresh, filtered oil for the brightest visual impact.
THE DEEP DIVE
Macro Nutrition Profile:
Each serving of this Seaweed Alert Snack provides a concentrated dose of Vitamin K, Iodine, and Tyrosine. You are looking at approximately 120 calories per batch, with 8g of healthy fats (primarily from the sesame and frying oil) and 12g of complex carbohydrates. It is a low-glycemic option that prevents the insulin spikes associated with potato-based alternatives.
Dietary Swaps:
- Vegan: Naturally compliant.
- Keto: Replace the rice flour with a mixture of egg white powder and almond flour, though the "puff" factor will be reduced.
- GF: Naturally compliant, but ensure your rice flour is certified gluten-free to avoid cross-contamination.
Meal Prep & Reheating Science:
To maintain the molecular structure, store these in an airtight glass container with a desiccant pack. If they lose their snap, do not use a microwave. The microwave agitates water molecules and will make the seaweed leathery. Instead, flash-heat them in a 150C (300F) oven for 120 seconds to re-crisp the starch matrix.
THE KITCHEN TABLE
Why is my seaweed snack chewy instead of crunchy?
This usually indicates insufficient frying time or oil that was not hot enough. The moisture in the rice slurry must be completely evaporated to achieve a crystalline crunch. Check your oil temperature with a digital probe.
Can I use regular flour instead of glutinous rice flour?
Negative. Standard wheat flour contains gluten which develops elasticity; this will result in a hard, tooth-cracking texture rather than a light, aerated shatter. Stick to the rice starch for the correct structural engineering.
How long will the Seaweed Alert Snack stay fresh?
In a humidity-controlled environment (an airtight jar), these will maintain peak structural integrity for up to five days. However, for the maximum sensory experience, consumption within 48 hours is recommended.
My sesame seeds keep falling off after frying!
This is a bonding failure. Ensure you apply the seeds while the rice slurry is still wet and "tacky." You can also lightly mist the top with water before the seeds are applied to create a secondary adhesive bond.