
The air is thick with the scent of pine needles and woodsmoke; your stomach is growling with the ferocity of a mountain lion. You are miles from a convection oven, yet you demand a crumb that is light, airy, and structurally sound. Welcome to the audit of Campsite Bannock Bread. This is not merely survival food; it is a high-stakes engineering project conducted over an unpredictable thermal source. We are talking about a golden, crusty disc of carbohydrate excellence that must withstand the erratic heat of a flickering campfire or a portable butane burner. If your current outdoor bread resembles a dense, leaden puck of sadness, your technical protocols are failing. We are here to recalibrate your process. We will optimize the chemical leavening, manage the hydration levels, and ensure that your Maillard reaction is achieved without incinerating the exterior. Put down the pre-packaged crackers and prepare to master the most versatile, rugged, and rewarding starch in the culinary field manual.
THE DATA MATRIX
| Metric | Specification |
|---|---|
| Prep Time | 10 Minutes |
| Execution Time | 15 to 20 Minutes |
| Yield | 4 Substantial Portions |
| Complexity | 3 / 10 |
| Estimated Cost per Serving | $0.45 USD |
THE GATHERS
Ingredient Protocol:
- 375g / 3 cups All-Purpose Flour (High protein content preferred)
- 15g / 1 tbsp Baking Powder (Check expiration for maximum lift)
- 5g / 1 tsp Fine Sea Salt
- 45g / 3 tbsp Cold Unsalted Butter or Lard (High smoke point fats are optimal)
- 240ml / 1 cup Room Temperature Water (Adjust based on ambient humidity)
- 15ml / 1 tbsp Dehydrated Milk Powder (Optional: for enhanced browning)
Section A: Ingredient Quality Audit:
Sub-par raw materials are the primary cause of structural failure in the field. If your baking powder has been sitting in a humid pantry for six months, it has likely lost its ability to aerate the dough. Test it by dropping a pinch into hot water; if it does not fizz violently, discard it. If you find your flour has become clumped or damp, you must sift it through your fingers to break up the masses. Using "dead" flour results in a viscous mess rather than a workable dough. For those using oil instead of solid fat, be aware that your crumb will be denser. Solid fats create micro-pockets of steam during the bake, which is the secret to a flakey interior. If your water source is high in mineral content, it may tighten the gluten too quickly; a pinch of sugar can help soften the final texture.
THE MASTERCLASS
1. Dry Component Integration
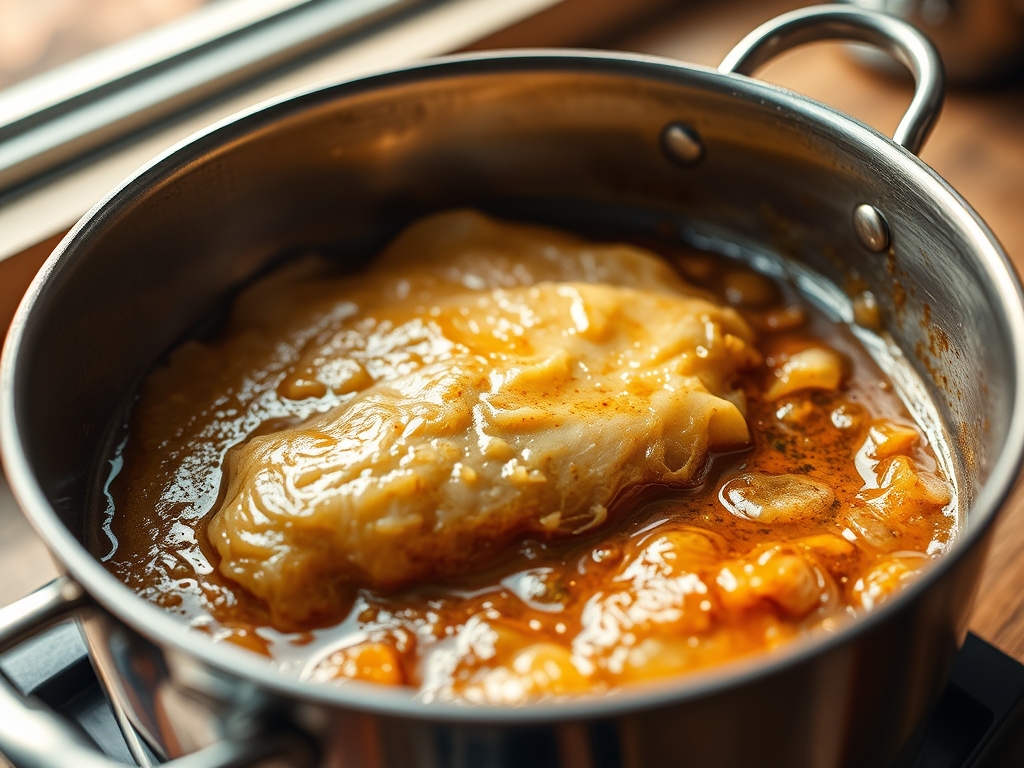
Combine your flour, baking powder, salt, and milk powder in a large bowl or a heavy-duty storage bag. Use a digital scale for these measurements before you leave home to ensure mathematical precision. You want a perfectly homogenous mixture where the leavening agent is distributed equally throughout the starch matrix.
Pro Tip: This stage is where you can infuse flavor. Adding dried herbs or cracked black pepper now ensures they are locked into the dough structure. A bench scraper is the professional tool of choice here to keep your workstation clean and your ratios exact.
2. Fat Rubbing and Aeration
Incorporate your cold fat into the dry mix using your fingertips or a pastry cutter. You are looking for a texture resembling coarse cornmeal. Do not overwork the fat; you want small, visible pebbles of butter to remain. These pebbles will render during the cooking process, creating the steam necessary for lift.
Pro Tip: Professional bakers use a technique called "fraisage" on a smaller scale here. By flattening the fat into the flour rather than mixing it, you create layers. If you are in a professional kitchen setting, a chilled saucier can be used to melt butter if you prefer a "pour-in" method for a denser, more biscuit-like result.
3. Hydration and Gluten Management
Slowly add your water to the center of the well. Use a sturdy spoon or your hands to bring the dough together until it just clears the sides of the bowl. It should be tacky but not sticky. If it sticks to your hands like glue, add flour by the tablespoon. If it crumbles, add water by the teaspoon.
Pro Tip: Over-mixing at this stage is a fatal error. Excess agitation develops the gluten proteins into a rubbery web. You want to mix only until the flour is hydrated. The goal is a tender crumb, not a pizza crust.
4. Thermal Application and Rotation
Heat a cast-iron skillet over medium-low heat with a thin film of oil. Flatten your dough into a disc about one inch thick. Place it in the pan and cover with a lid or foil. Cook for 8 to 10 minutes per side. You are looking for a hollow sound when the center is tapped.
Pro Tip: Use an infrared thermometer to verify your pan temperature is between 325F and 350F. If the pan is too hot, the exterior will char before the interior starch granules gelatinize. A heavy lid mimics the environment of a Dutch oven, trapping steam to ensure the bread rises before the crust sets.
Section B: Prep & Timing Fault-Lines:
Timing errors usually stem from "Hot Spot" syndrome. Campfires do not have a thermostat. If you see smoke rising from the edges of the bread within the first three minutes, your thermal input is too high. Move the skillet further from the coal bed immediately. Conversely, if the bread has not changed color after five minutes, your yeast-mimicking reaction is stalling. You must increase the heat to trigger the carbon dioxide release. Another common failure is checking the bread too often. Every time you lift the lid, you lose the accumulated thermal energy and steam, leading to a collapsed, gummy interior.
THE VISUAL SPECTRUM
Section C: Thermal & Visual Troubleshooting:
Examine the Masterclass photo provided above. Note the deep mahogany splotches against the golden-tan surface; this is the visual signature of a successful Maillard reaction. If your bread looks pale and "dusty," you likely lacked enough fat in the pan or your heat was too low to caramelize the sugars. If the bread appears "shaggy" or has deep cracks, your hydration was too low. The photo shows a crisp, defined edge which indicates the dough was firm enough to hold its shape under its own weight. If your bread looks slumped or flat, your baking powder was likely expired or you waited too long to cook the dough after adding the water. The chemical reaction starts the moment liquid hits the powder; you must move from hydration to heat within five minutes.
THE DEEP DIVE
Macro Nutrition Profile:
A standard serving of Campsite Bannock Bread provides approximately 320 calories, 45g of carbohydrates, 8g of protein, and 12g of fat. It is a high-energy fuel source designed for physical exertion. While it lacks significant micronutrients, it provides the necessary glucose spikes required for hiking or cold-weather survival.
Dietary Swaps:
- Vegan: Replace butter with coconut oil or a high-quality vegetable shortening. Use almond milk powder or omit the milk powder entirely.
- Keto: This is difficult as the structure relies on wheat gluten. A mix of almond flour, psyllium husk, and egg whites can approximate the form, though the flavor profile will shift toward the nutty spectrum.
- GF (Gluten-Free): Utilize a 1-to-1 gluten-free flour blend containing xanthan gum. Increase hydration by 10% as GF flours tend to be more absorbent.
Meal Prep & Reheating Science:
To maintain the molecular structure, do not microwave leftover bannock; it will become structural leather. Instead, wrap it in foil and place it near the edge of a fire or in a 350F oven for five minutes. This re-gelatinizes the starches and crisps the exterior fat layer. For long-term storage, freeze the dry mix in vacuum-sealed bags to prevent oxidation of the leavening agents.
THE KITCHEN TABLE
Why is my bannock raw in the middle?
Your thermal intensity was too high. The exterior carbonized before the heat could penetrate the core. Lower the heat and use a lid to trap steam, which conducts heat more efficiently into the center of the dough.
Can I cook this directly on a stick?
Yes. Adjust the hydration down slightly to create a stiffer dough. Wrap the "snake" of dough tightly around a de-barked green hardwood stick. Rotate constantly over coals, not open flames, to ensure an even, golden bake.
How do I get a more piquant flavor?
Incorporate fermented elements. A tablespoon of sourdough discard or a splash of apple cider vinegar reacts with the baking powder to create a sharper, more complex flavor profile that mimics a slow-fermented artisanal loaf.
Why did my bread fail to rise?
Check your baking powder's expiration date. If the powder is active, you likely over-handled the dough, popping the CO2 bubbles before they could be set by the heat. Handle the dough like a delicate cloud, not a stress ball.